Vendor management on Ramp
Overview
Relationships with vendors are incredibly important. Ramp makes it easy to create, manage, and pay vendors on time. Vendor management simplifies storing, analyzing, and discovering all your vendor records and data.
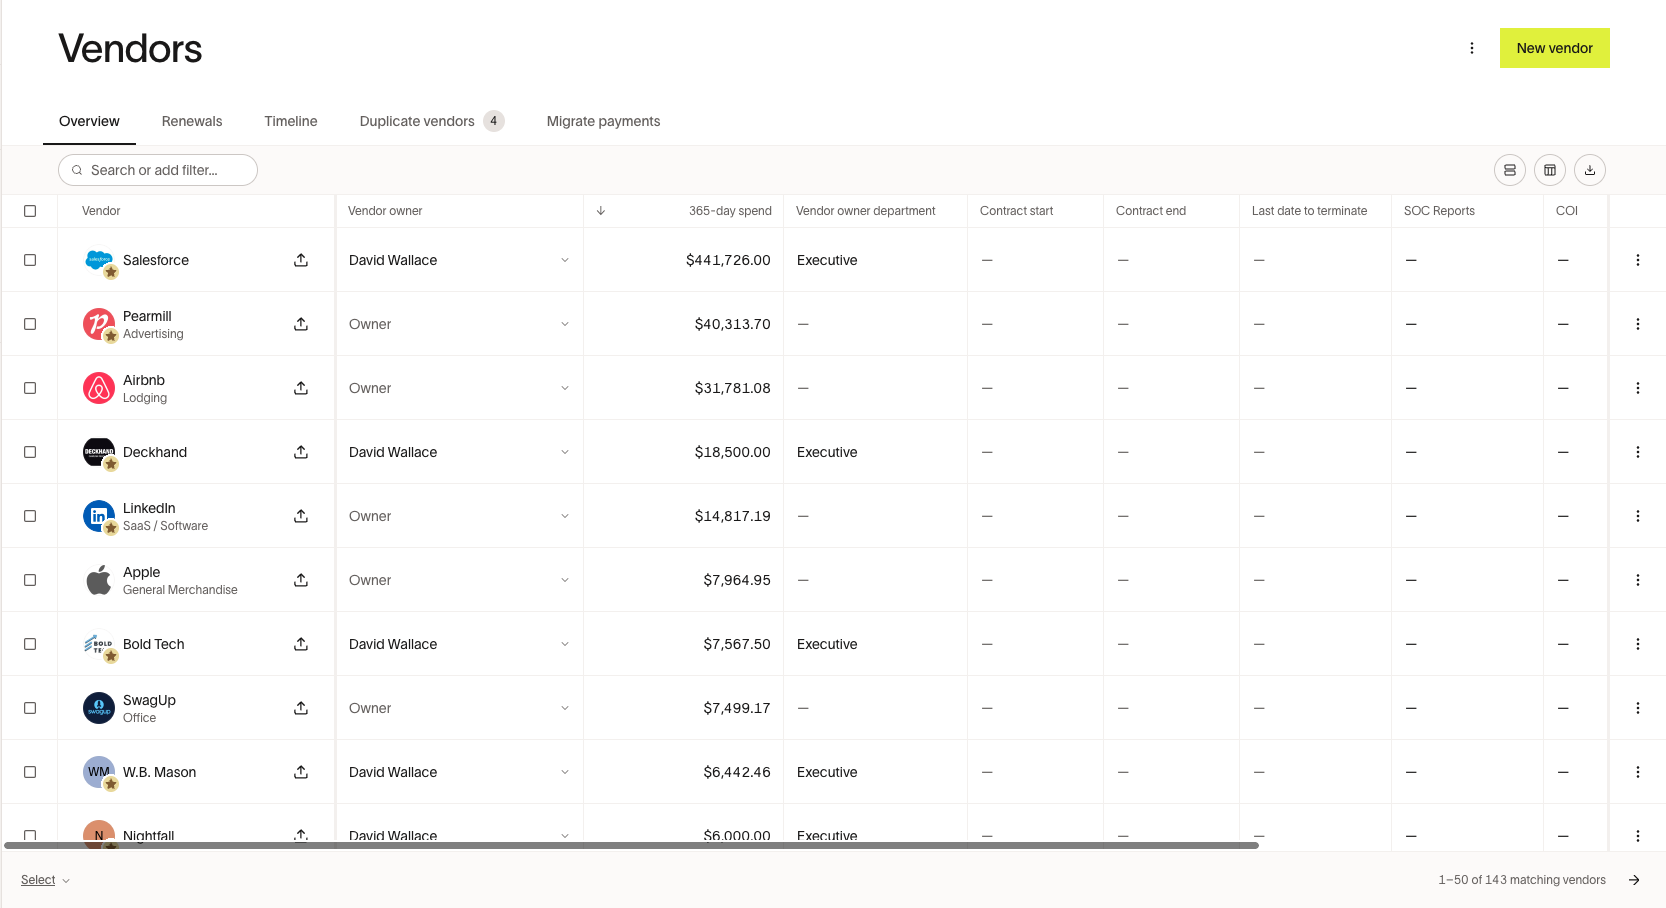
Vendor management table
All vendors paid by card and bill are housed in the Vendors table. A vendor record is added to this table whenever a card transaction or bill payment for a new vendor occurs (even if the transaction declines or bill payment fails).
You can easily view vendor details like the Vendor owner, Department, Total spend, Tax details, and more. Visibility of vendors varies by user role:
- Admin, Accounts Payable, and Accounting roles can view all vendors
- Vendor owners (and their managers) can view vendors they own
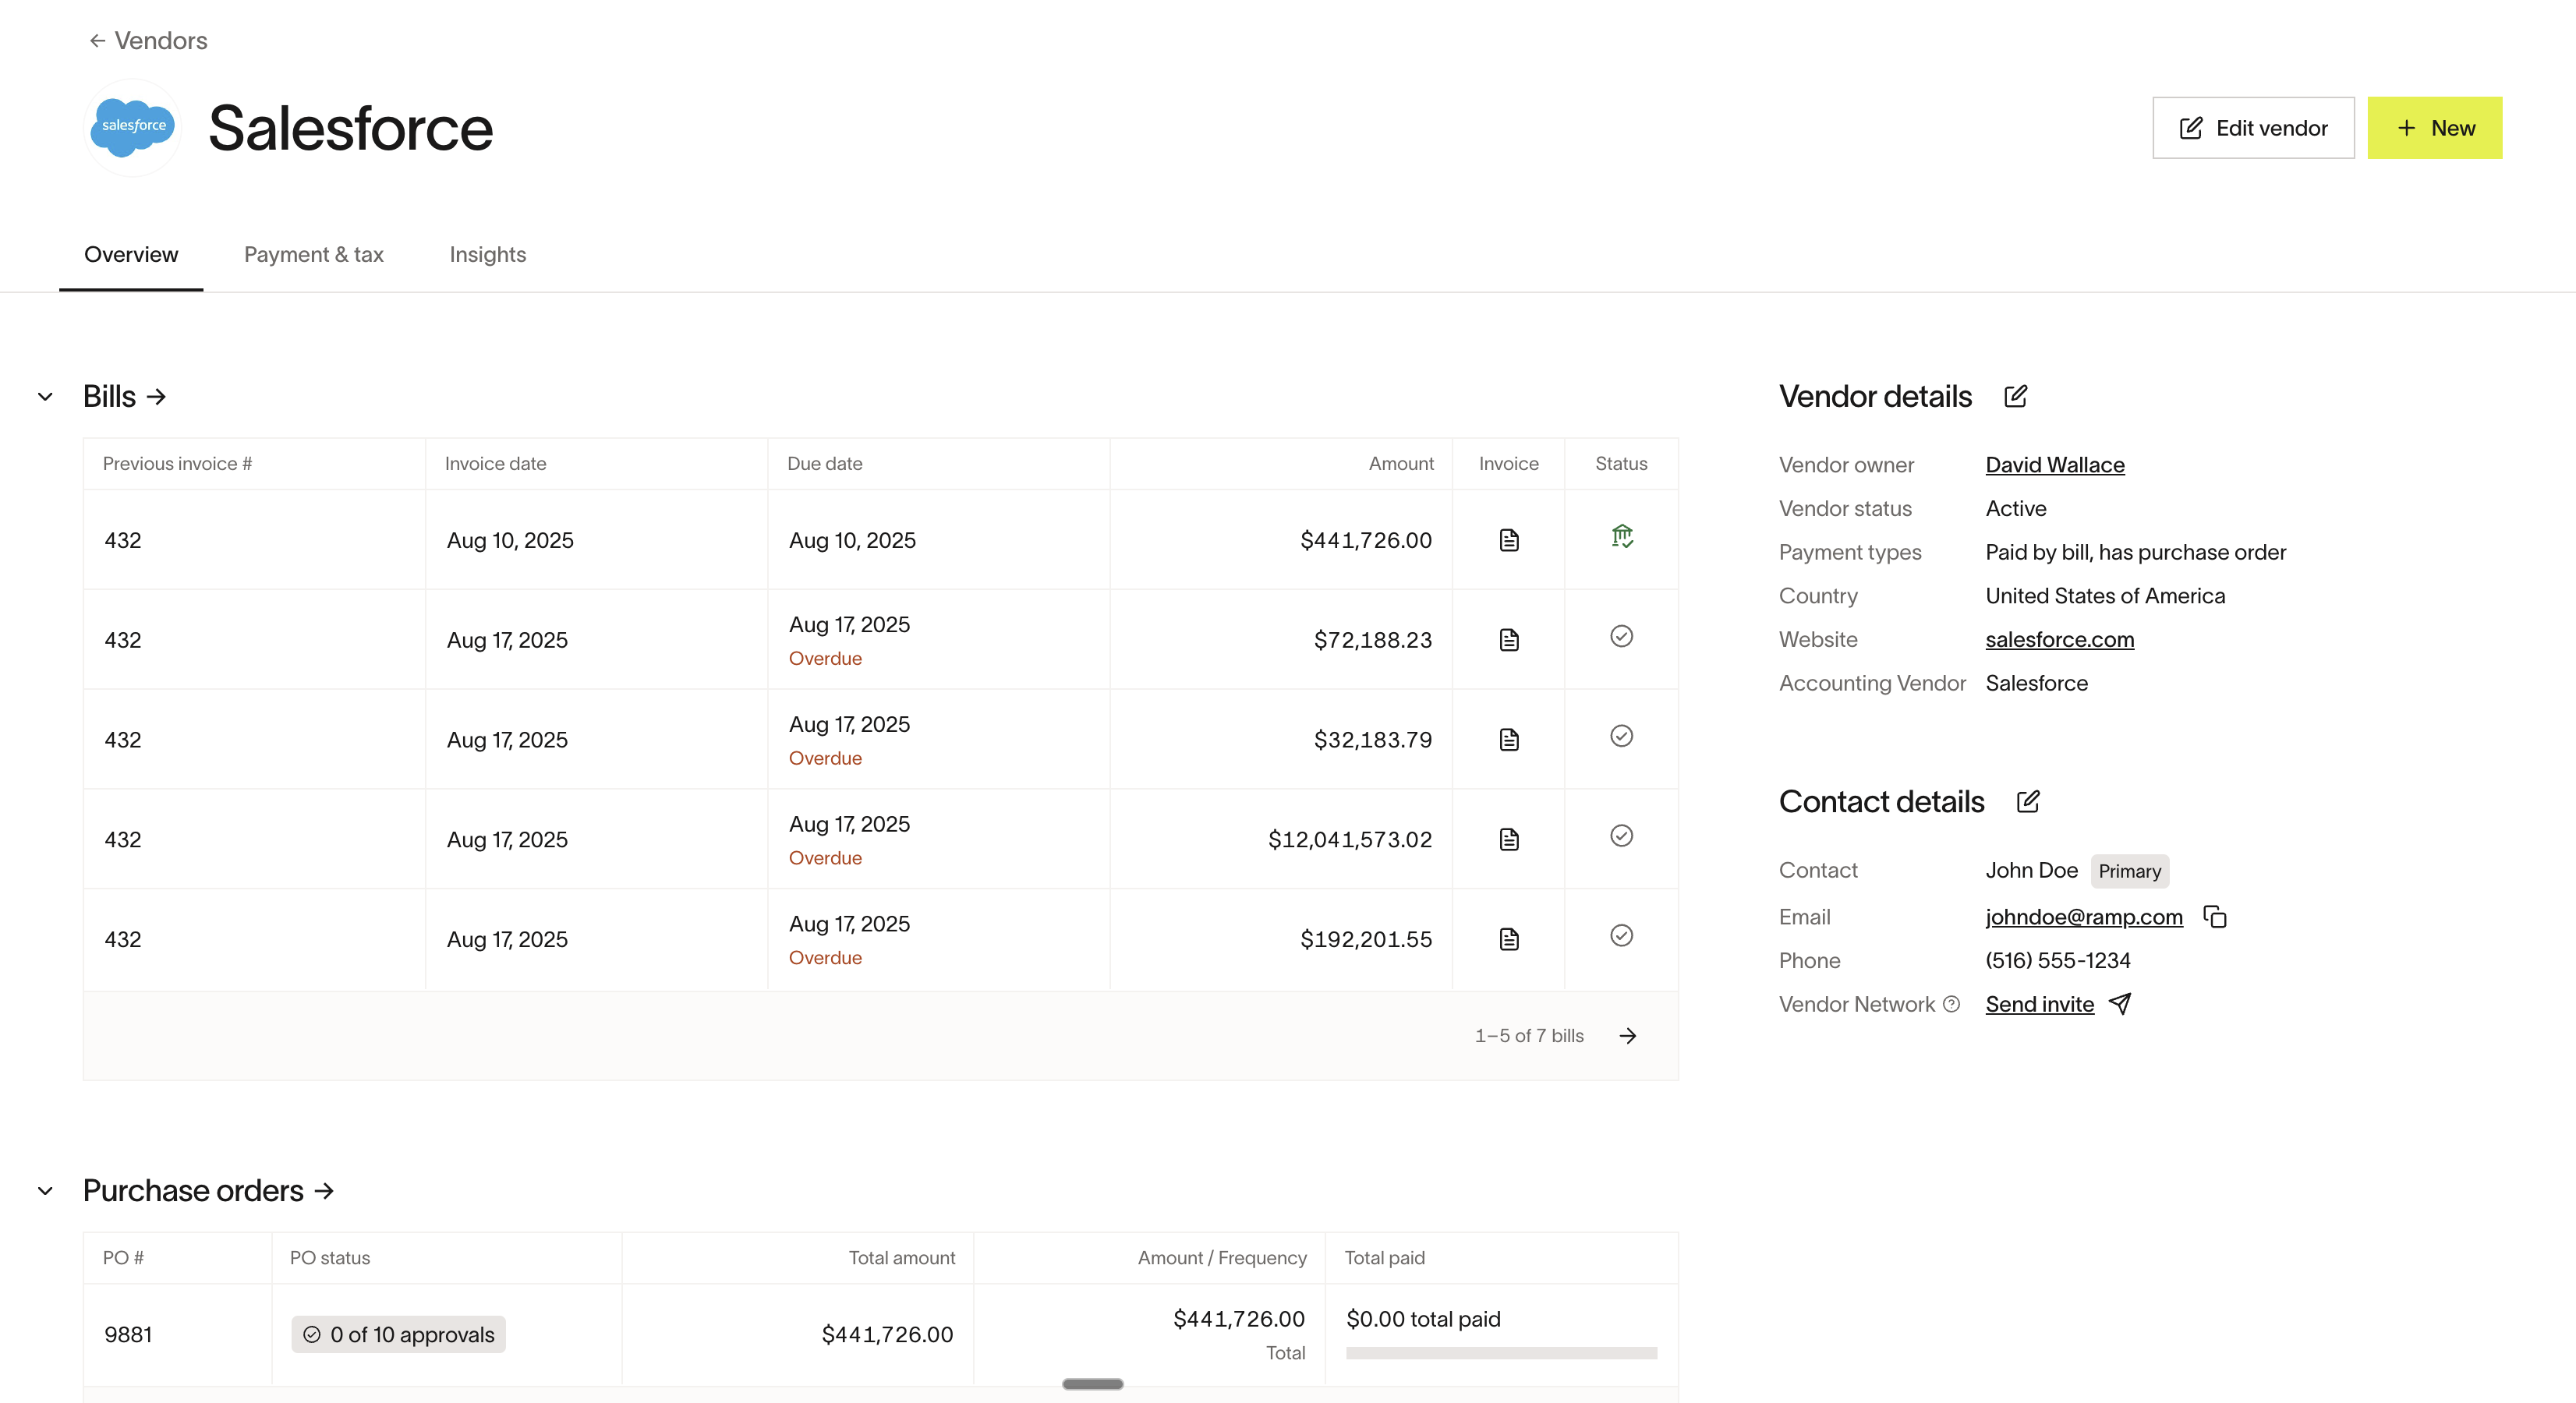
Click on a vendor to see the full vendor profile, with details like associated cards & funds, recent bills or card transactions. You can also edit vendor details from here.
Sorting and filtering
You can easily search, sort, and filter for vendors from the Vendors table by a variety of details like name, category, owner, payment type, tax status, etc.
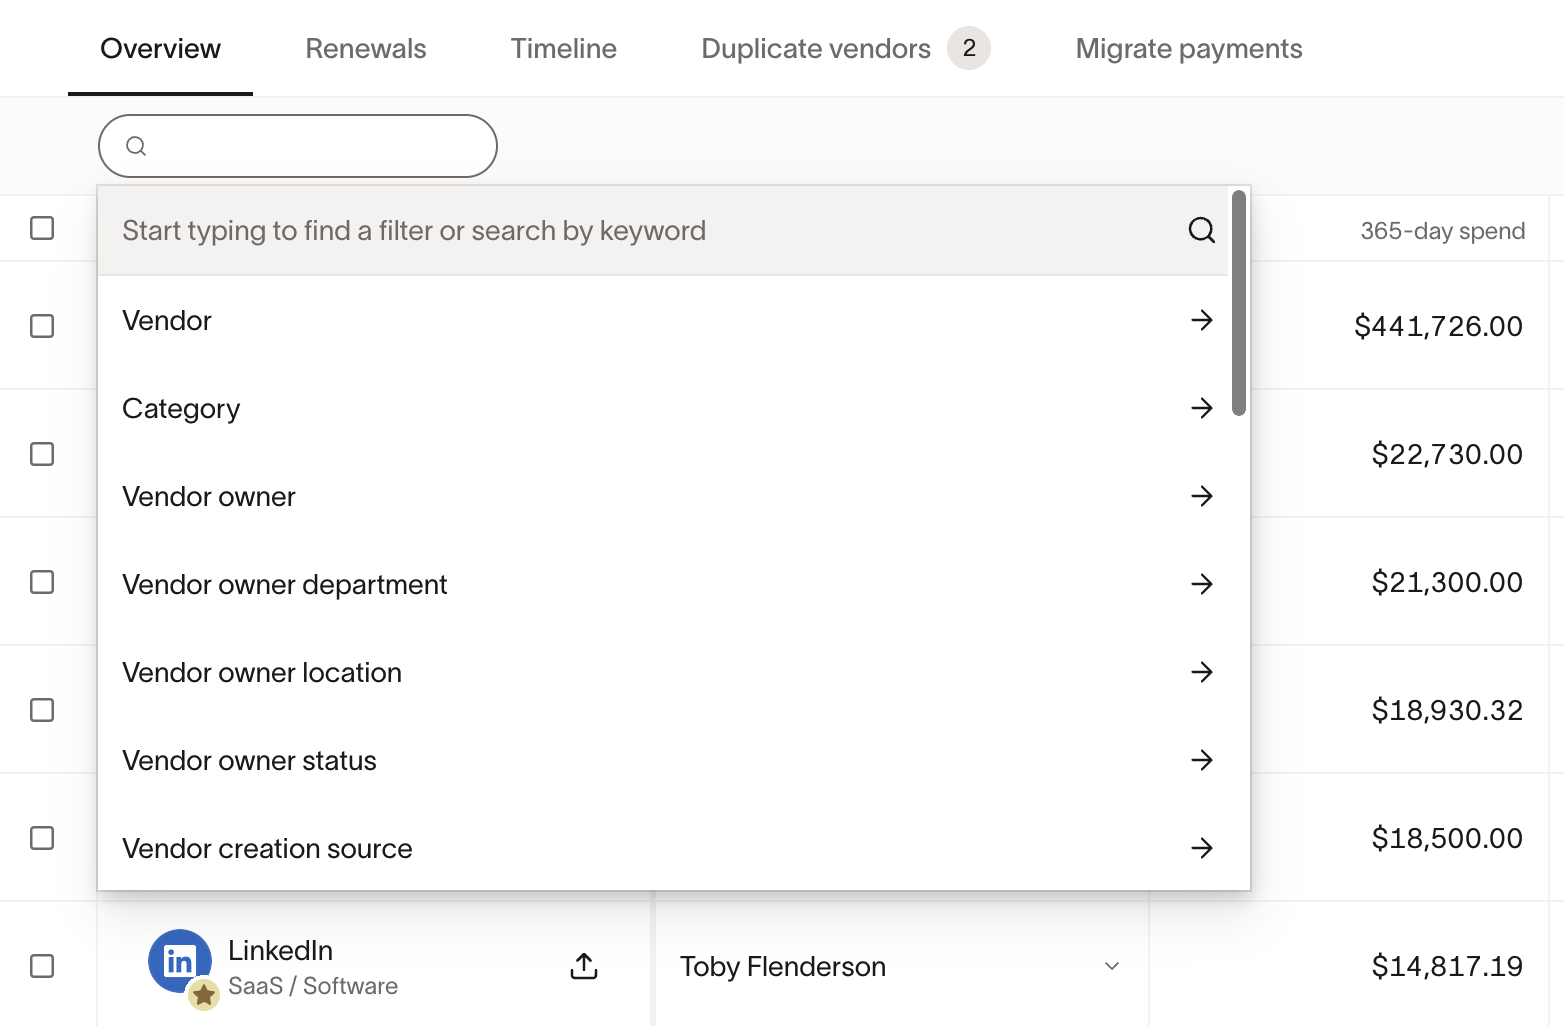
Merge vendors
If you have duplicate vendors that need to be merged, please reference this article.
Vendor details
Accounting line items
You can assign default accounting preferences for invoice line items in Edit vendor details > Line item accounting. See this page for more information about Bill Pay Accounting.
Contact info
You must add a vendor contact when creating a vendor. You can update this contact or add additional contacts at any time, and select one as the default. You can send requests for payment & tax details, and documents from your vendor contact. Only the default contact will receive communications from Ramp, other than requests sent to multiple contacts.
Note: If a vendor is connected to Vendor Network, the default contact cannot be edited while connected. See Ramp Vendor Network for details on how to disconnect and edit the contact.
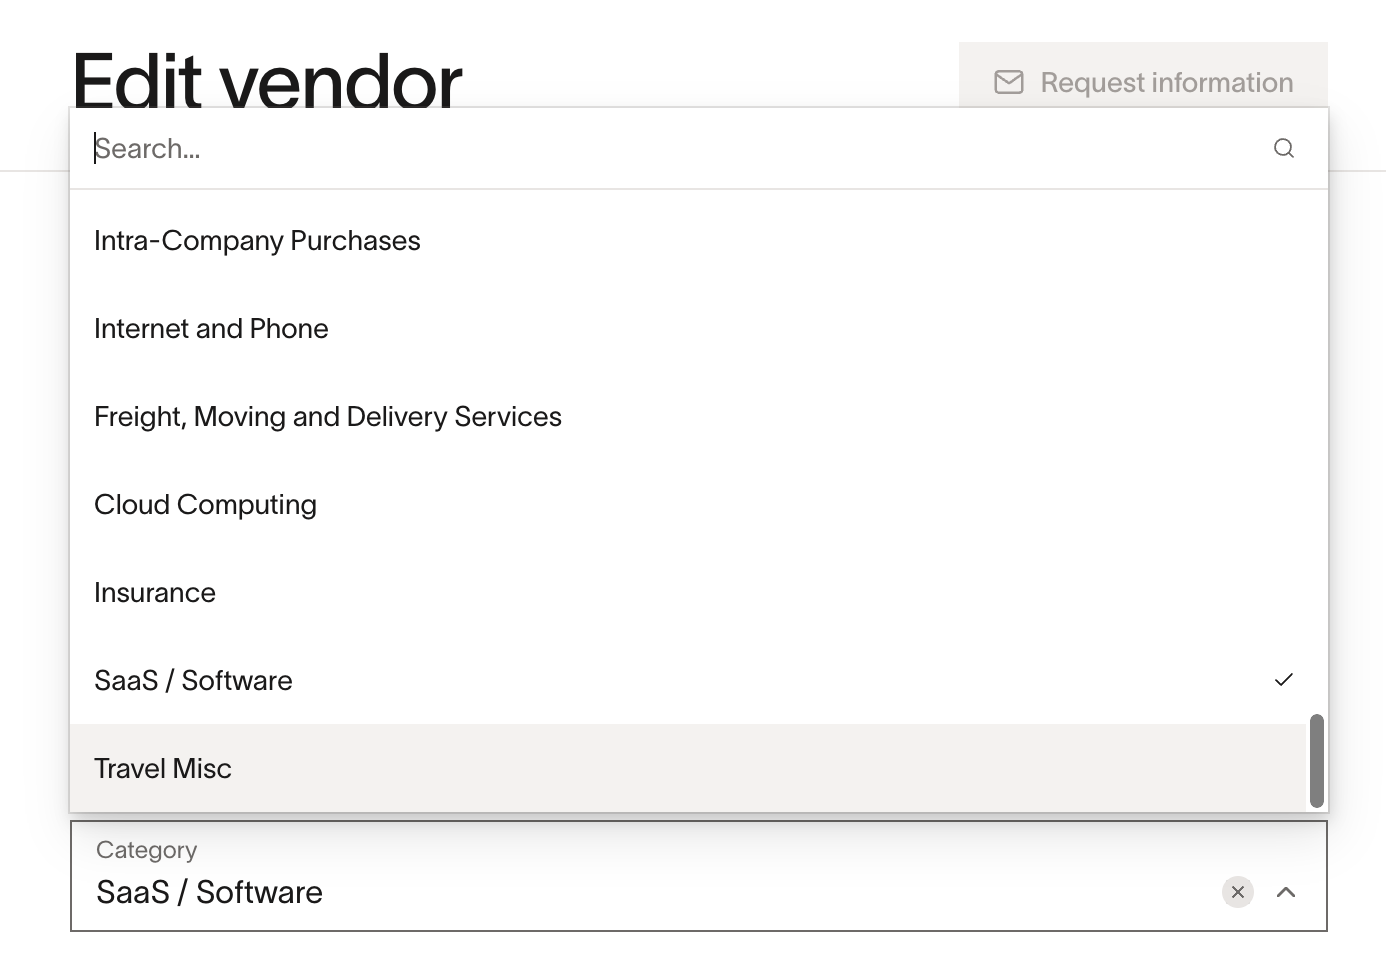
Ramp category
Ramp Category helps customers classify vendors into specified groups. For vendors paid by card, the category is pre-determined, can't be changed, and is tied to the category restrictions you may set for card purchases. Learn more about setting up category restrictions here.
You can select a category to classify non-card spend vendors. This classification is helpful when filtering and sorting vendors within the Vendor Management tab.
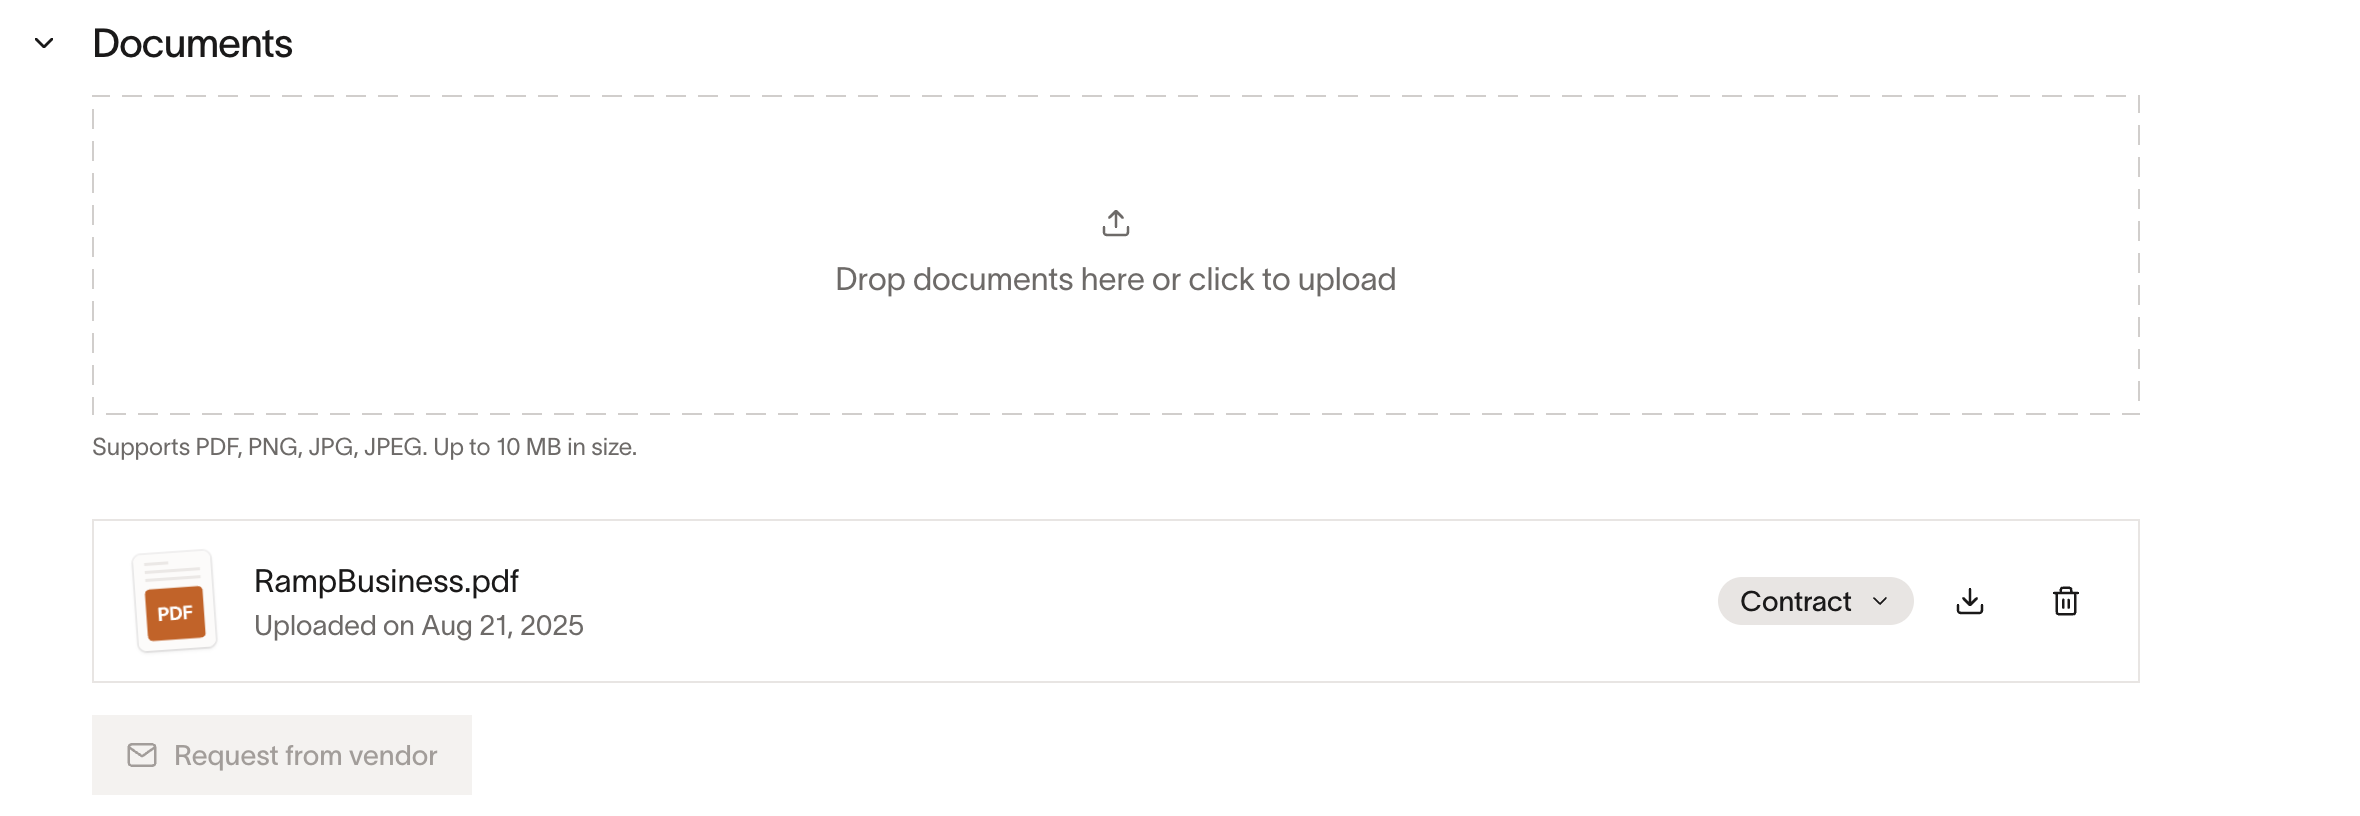
Documents
Ramp allows you to easily upload and store critical documents relevant to your vendor in the Documentssection. When you upload a document, Ramp analyzes the document to parse what the document type might be, but you can select the type yourself.
You can also request Documents from vendors. Read more here.
Custom fields
Custom fields let you track additional vendor data beyond Ramp's built-in fields. Use them to store details like contract renewal dates, risk scores, vendor tiers, or certification status. Custom field values appear on vendor profiles and can be used to filter the vendor management table.
Admins and users with the Accounts Payable or Accounting role can create and manage custom fields from the Vendors page.
Field types
When creating a custom field, select the type that matches the data you want to capture:
| Type | Description | Examples |
|---|---|---|
| Text | Short free-text value | External ID, Notes |
| Yes / No | Boolean toggle | Requires approval, Is strategic |
| Number | Numeric value | Priority score, SLA days |
| Date | Calendar date | Renewal date, Review date |
| Select | Single choice from a list of options you define | Tier, Region |
| Multi select | Multiple choices from a list of options you define | Certifications, Tags |
| Email address | Shared inbox, Escalation contact | |
| URL | Web link | Vendor Portal, Documentation |
Create a custom field
- Navigate to Vendors .
- Click the three-dot menu (⋯) and select Manage fields .
- Click New .
- Enter a Name for the field.
- Select a Type .
- For Select or Multi select types, add at least one option in Field options .
- Optionally add a Description .
- Click Create .
To edit a field's name or description after creation, open Manage fields and click on the field. You cannot change a field's type after it is created.
Expiration tracking
You can set an expiration date and renewal frequency on a custom field so that the field value is automatically marked as expired on a recurring schedule. This is useful for fields that must be periodically refreshed, such as insurance certificates or compliance documentation dates.
To enable expiration tracking on a field:
- Open Manage fields from the Vendors page.
- Click New to create a field, or click an existing field to edit it.
- Toggle Expiration tracking on.
- Set the expiration Date and Frequency (Weekly, Monthly, or Yearly).
Once enabled, the field will cycle between Active and Expired statuses based on the frequency you set.
Edit custom field values
To update a custom field value for a specific vendor:
- Navigate to Vendors and click on the vendor.
- Click Edit vendor details .
- Scroll to the Custom fields section and update the values.
- Click Save .
You can also filter the vendor management table by custom field values to find vendors based on specific criteria.
Import custom field values
To update custom field values for multiple vendors at once:
- Navigate to Vendors and open Manage fields .
- Click Import custom field values .
- Download the template and enter values for the fields you want to populate. Ensure values match the correct format for each field type (for example, dates for Date fields, numbers for Number fields).
- Upload the completed template and review the changes.
- Click Update custom field values to save.
Delete a custom field
- Open Manage fields from the Vendors page.
- Click on the field you want to remove.
- Scroll to Delete and click it.
- Confirm the deletion in the dialog.
Note: Deleting a custom field permanently removes it and its values from all vendor profiles. This action cannot be undone.
Payment and tax details
You can add payment and tax details for your vendor, or request them from your vendor.
- Only 1 tax address per vendor is supported.
- When paying vendors by check, you can add multiple mailing addresses (no limit) to route payments to the correct remittance location, then select the appropriate address when sending a check payment.
- Ramp allows different vendors to receive ACH or check payments to the same bank account number. When adding payment details for a vendor, there is no restriction against reusing an account number that is already associated with another vendor. Double-check that vendor names are correct to avoid misrouting payments.
Read more about tax status and vendor tax details here, and TIN verification here.
Editing vendor addresses
To add or edit a check mailing address or tax address, navigate to Vendors, click on the vendor, then click Edit > Payment & tax details. From there you can add a new check address via Add payment method > Check, edit an existing mailing address, or update the tax address in the Tax details section. If vendor approvals are enabled, address changes may require approval before taking effect.
If your business uses Two-Way Vendor Information Sync, the check mailing address in Ramp can sync with the default address field in your ERP. The exact fields that sync and the sync direction depend on your accounting provider. For example, QuickBooks Online syncs the mailing address bidirectionally, while some providers sync certain address components in one direction only. You can configure the address mapping and view the full field list in Two-Way Vendor Information Sync.
Vendor default payment method
You can set a default payment method to efficiently and consistently pay vendors. It can be set from a draft bill or vendor profile.
- From a draft bill, when you add or edit a payment method, you can set it as the default
- From a vendor profile, edit Payment details > make preferred method default > Save
- If there are any pending bills for this vendor, you can choose to update their payment method to the new default

- Each vendor can only have 1 default payment method, and it can be edited at any time
- The first payment method added for a vendor will automatically be set as the default
- If you sent your vendor a request for payment details, once they share their details, if it's the first payment details for that vendor's profile, it will be set as the default automatically and applied to any pending bills for that vendor
- You can update default payment methods in bulk across vendors through the bulk vendor update CSV. See Bulk update/edit vendors.
Net payment terms
Net payment terms define the number of days a vendor allows for payment after an invoice is issued. When set on a vendor profile, Ramp automatically calculates the due date on new bills for that vendor using the formula: invoice date + net payment terms = due date. This due date takes precedence over any due date extracted via OCR.
To set or update net payment terms:
- Navigate to Vendors .
- Click on a vendor to open their profile.
- Click Edit vendor details .
- Select a value from the Net payment terms dropdown.
- Click Save .
Available options:
- Due on receipt
- 7, 10, 15, 30, 45, 60, or 90 days
- Custom (enter any number of days)
Note: Only Admins can edit net payment terms. Vendor owners cannot update this field unless they also have an Admin role. You can also update net payment terms in bulk through the bulk vendor update CSV. See Bulk update/edit vendors.
For more detail on how payment terms affect bill creation, see Bill creation defaults in Creating draft bills on Bill Pay.
Creating vendors
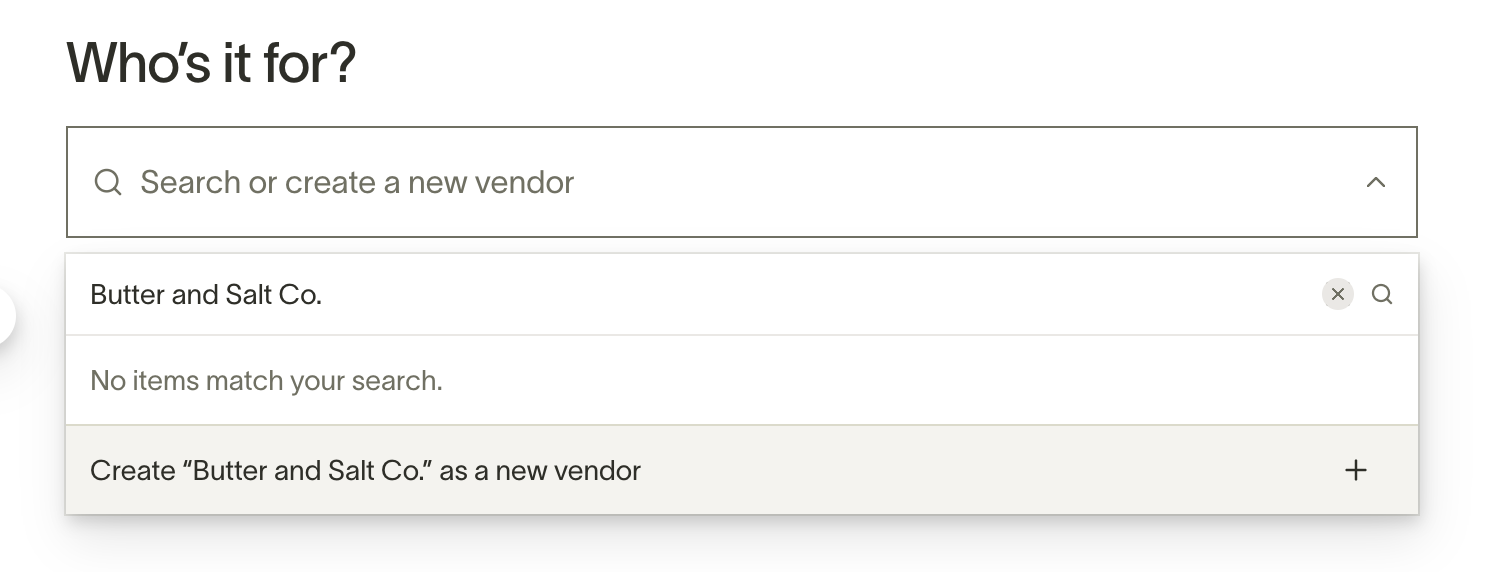
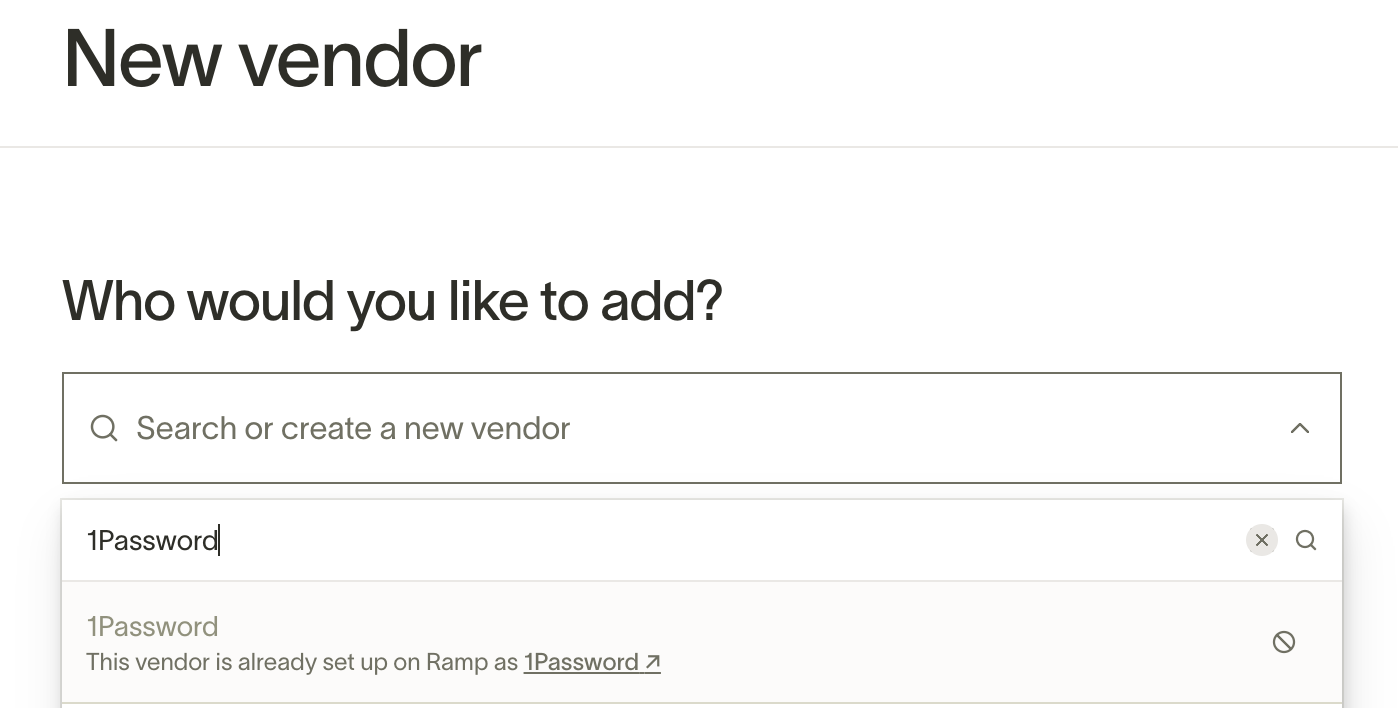
Ramp supports multiple methods for vendor creation. You can create a vendor:
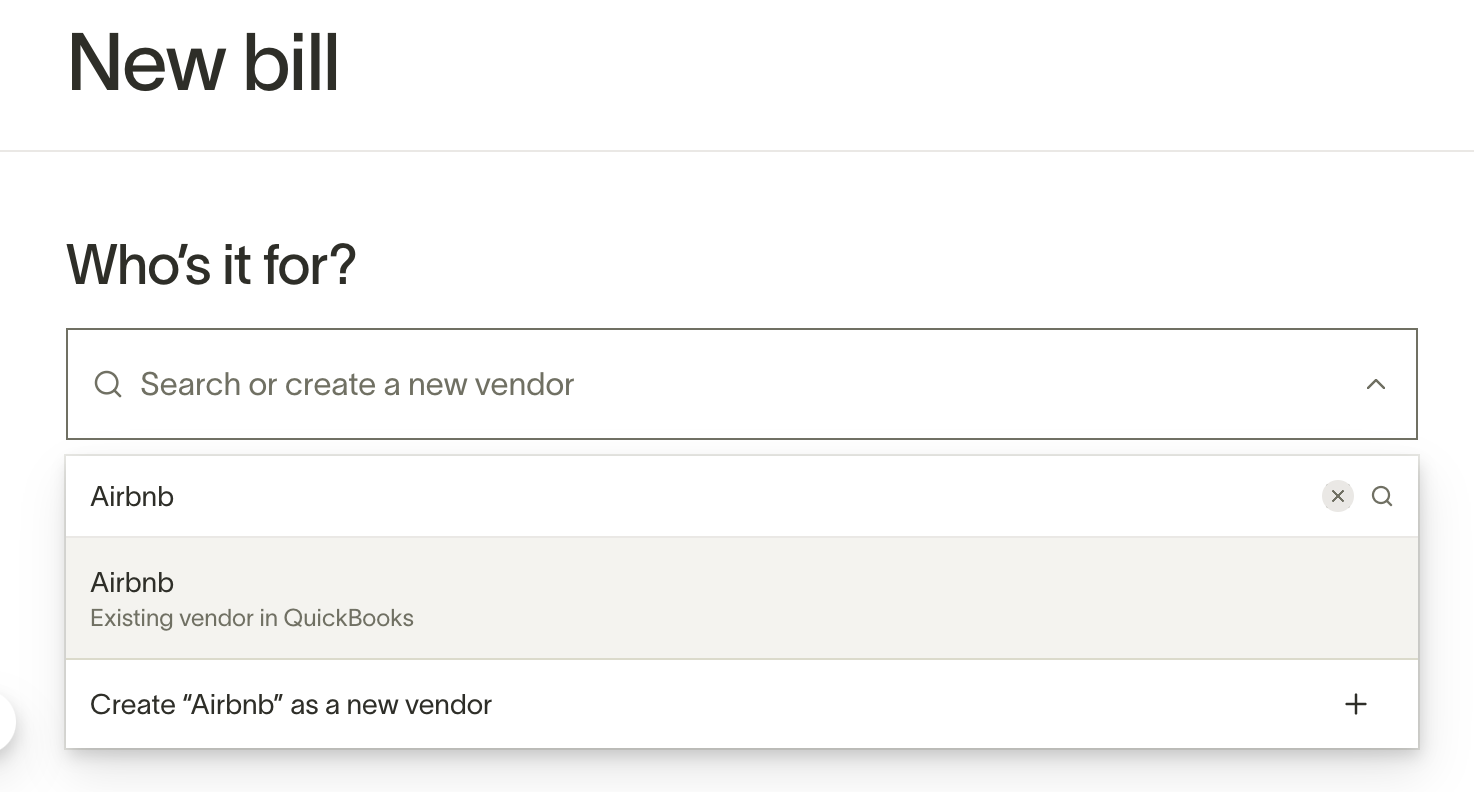
- From bill creation
- If your ERP is connected to Ramp, we'll automatically search for any existing vendors that seem relevant to the created bill to match the vendor. If no match is found, you can create a new vendor in your accounting software from Ramp to maintain a 1:1 relationship. It's important to exercise caution and not create duplicate vendors.
- From a purchase order
- Read more about vendor onboarding in Procurement
- From the Vendors table
- Click New vendor in the top right of the table
- Bulk import
- Read instructions below
- Import vendors from ERP
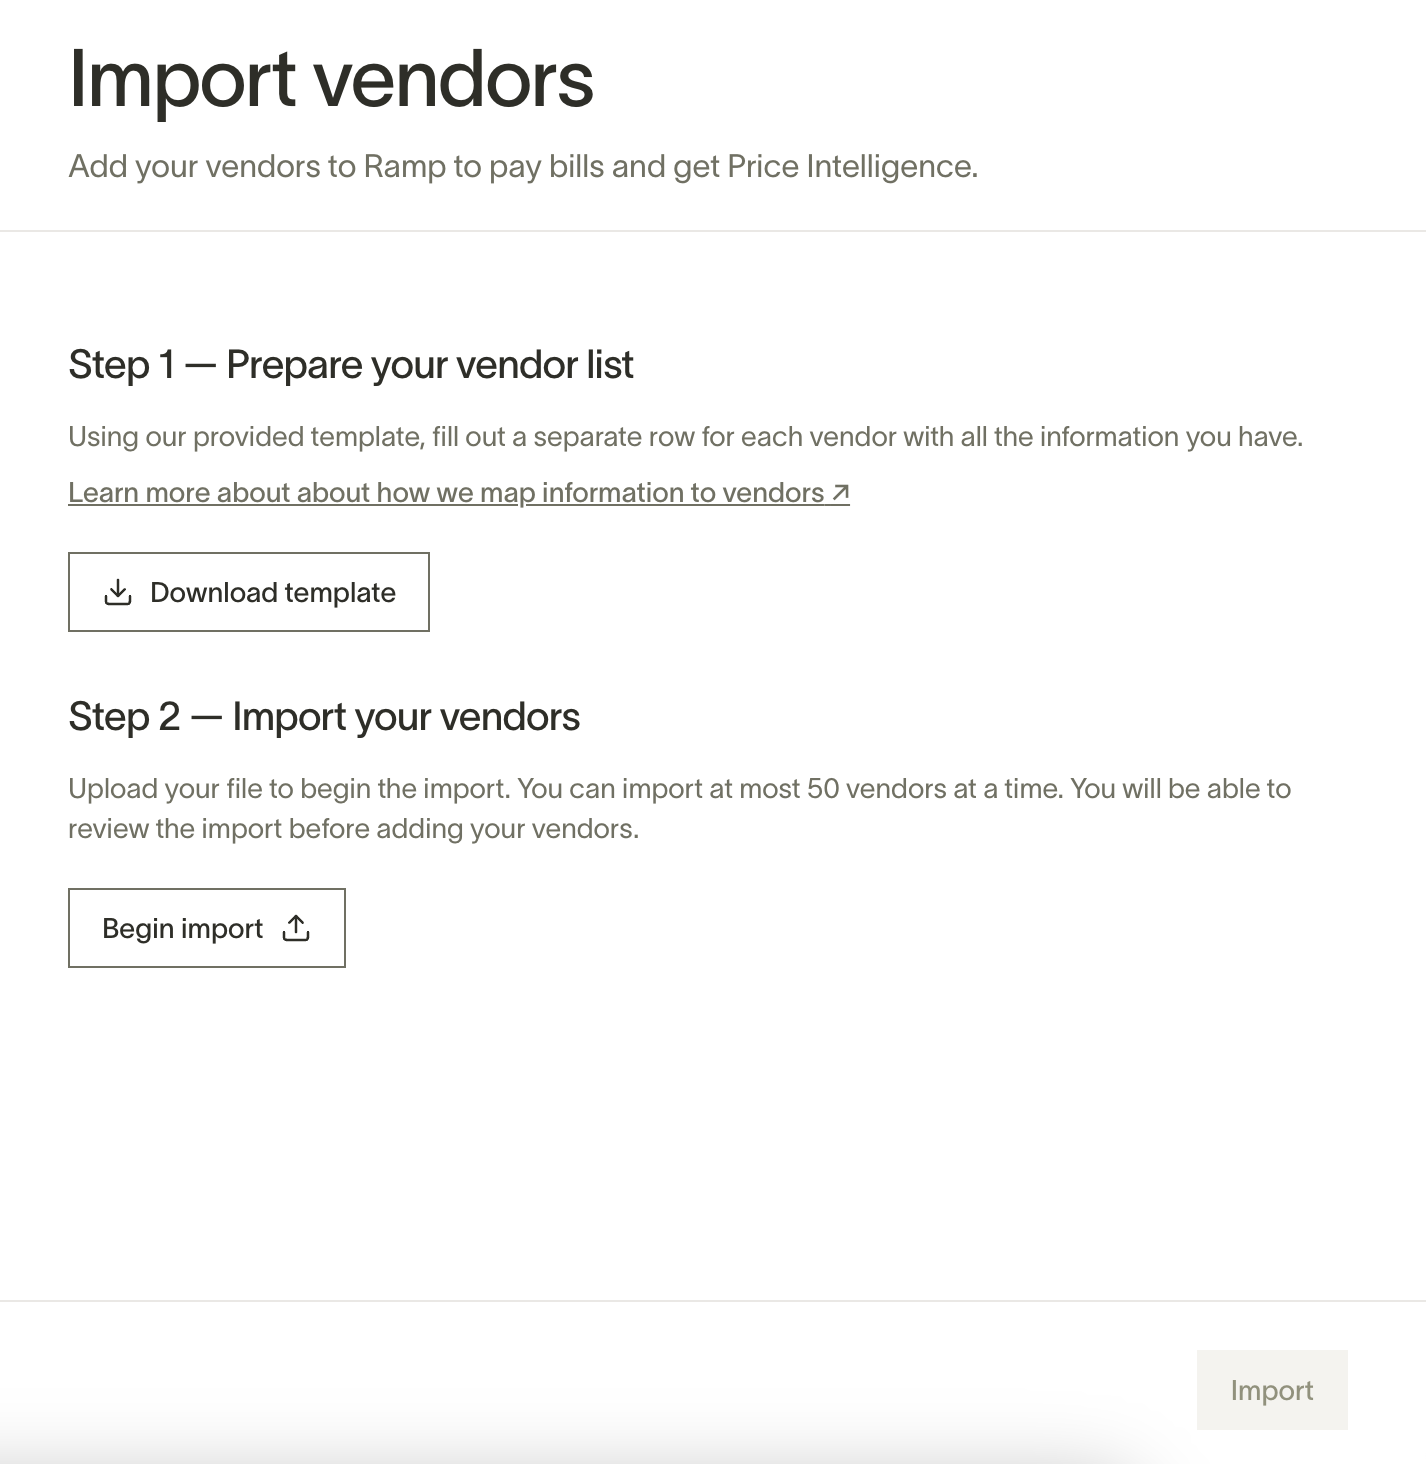
Bulk import vendors
You can import multiple vendors at once to help onboard to Ramp Bill Pay. Navigate to the Vendors tab > Settings > Import Vendors via CSV. Download the template and fill out as much information as possible.
Required Fields
- Vendor name: Ensure the vendor name in the CSV matches the exact vendor name in your accounting provider to avoid creating duplicates. Vendor names cannot be edited after creation in Ramp, but you can edit the name in your accounting provider, then edit the vendor in Ramp and click "save" without making any changes for the new name to sync. You can also optionally add a Vendor DBA Name.
- Vendor contact email: This should be your point of contact with the vendor. Entering N/A is not an option.
- Vendor Owner email: The email for the person/people at your company that own or manage this vendor. Learn more about Vendor Owners below.
- Country code: The two-digit country code where your vendor is based.
- State / Province : Required if the vendor is based out of the US, Canada, or Australia(e.g. NY for New York, AB for Alberta, SA for South Australia). State can only be left blank if the vendor country is not one of these 3.
Optional Fields
- ACH details (Routing/Account number): Verify all account details are correct. CSV file formatting can often cut off preceding 0s (e.g. CSV may change 0123 to 123) or change numbers to scientific format (e.g. CSV may change 123 to 1.23E+2).
- If no ACH details are provided, you can request them from the vendor by entering "True" in the Request ACH details column. The request will be sent to the email listed in the Vendor contact email column.
- If the ACH details were provided by a vendor over the Vendor Network, you will not be able to view the routing/account numbers for security reasons.
- Mailing address (address, city, state, postal code): If you do decide to enter an address for a vendor, the remaining address fields for that vendor will become required (e.g. if you input a city, then address line 1, state, country, and zip code will become required fields
- Request details from vendors: You can request specific payment and tax details by entering True in the corresponding columns: Request tax details , Request ACH details , Request check by mail details , Request domestic wire details , and Request international payment details . Each request type is sent separately to the vendor contact email.
- GL Code: Add a GL Code to link the vendor in Ramp to a corresponding vendor in your ERP
*Note:*In order for vendors created via bulk upload to be automatically matched to vendors in your ERP, the Vendor Name and GL Code fields in your CSV must exactly match to the vendor name and GL code in your ERP.
Any field (required or option) not listed in the provided template must be added as a custom field after your vendors have been uploaded to Ramp. Once you've clicked Begin import, you'll have a chance to clean up the data before finalizing.
Common Errors:
Here are a few helpful reminder if you are running into errors while uploading your file:
- Ensure that all fields are correctly formatted. Unsuccessful uploads are most often caused by missing or incorrect fields. See above for a list of Required and optional fields .
- Ensure that all 4 required fields are filled in the correct format.
- The file size may be too large. Ramp can currently handle up to 1,000 vendors at a time, so consider a smaller upload if you're having trouble
Mark vendors as active or inactive
Admins can mark a vendor as active or inactive from the vendor profile. Marking a vendor as inactive signals to your team that the vendor should not receive new payments. When a user creates a bill for an inactive vendor, Ramp displays a warning on the bill.
To change a vendor's active or inactive status:
- Navigate to Vendors .
- Click on the vendor to open their profile.
- Click Edit vendor details .
- Set the vendor status to Active or Inactive.
- Click Save .
Note: Only Admins can change the active or inactive setting. Vendor owners cannot change this unless they also have an Admin role.
Marking a vendor as inactive does not automatically cancel or unschedule any existing bills or payments for that vendor. To stop pending payments, you must unschedule or cancel them separately from the Bill Pay tab.
Use inactive status when you want to stop future payments to a vendor but keep that vendor's existing bill history in Ramp.
Deleting vendors
To remove a Bill Pay vendor from Ramp you can follow these steps:
- Delete a single vendor:
- Go to the vendor profile > Edit vendor details
- Scroll down to Danger zone and click Delete vendor
- Delete multiple vendors at once:
- Select the vendors from the table using the checkbox
- Select the 3 dots at the bottom of the page > Delete vendors
Deleting a vendor removes it from your active vendor list and marks it inactive. Ramp does not delete the vendor's bill history.
You can only delete vendors that do not have any bills in Ramp, including paid bills. Vendors with bills, active recurring bill templates, vendor contracts, or spend requests cannot be deleted. If you need to stop future payments for one of those vendors, mark the vendor inactive instead.
Vendor Owners
A Vendor Owner is the user(s) with the most context about a vendor's transactions and relationship, responsible for managing it. They can answer questions about payments, renewals, and services with this vendor. For example, the marketing manager overseeing Facebook ad spend would be a good vendor owner for Facebook Ads. Vendor owners are often the first approvers in Bill Pay approval flows, confirming that goods or services have been delivered.
When you assign a vendor owner, Ramp recommends likely owners based on the vendor's spend history, approval activity, and other signals. See Assign and manage vendor Owners below.
Vendor Owner Capabilities:
- View all bills for your assigned vendors (regardless of your position in the approval chain)
- Generate new bills for vendors under your management
- Add comments to bills
- Make approval or rejection decisions on bills for your vendors
- Add other vendor owners
Restrictions:
Vendor owners cannot edit the following if they aren't an admin -
- Payment information
- Tax information
- Bill accounting fields
- Accounting Vendor
- Net Payment Terms
- Managed / Unmanaged Setting
- Remove vendor owner
Assign and manage vendor Owners
You can assign multiple vendor owners. Add them when creating a new vendor or directly from the vendor's profile. Vendor owner, Admin, Owner, and Accounts Payable roles can change the owner from the vendor profile.
A vendor owner is required on Bill Pay vendors, but not on vendors with only card transactions.
When you open the owner selection field, Ramp suggests likely owners based on:
- Spend activity — users who submit the most bills, purchase orders, or card transactions for the vendor
- Approval history — users who frequently approve bills or purchase orders for the vendor
- Similar vendor ownership — owners of vendors in the same department or category
- Department structure — department heads associated with the vendor's department
Suggested owners appear at the top of the dropdown with a reason for each recommendation. You can choose a suggested owner or select any user in your organization.
To bulk update vendor owners, select the vendors from the table, click the three-dot menu (⋯) at the bottom, select Edit owners, choose the updated owner(s), and save.
When an employee is terminated, vendor ownership must be reassigned. An Admin can select a single replacement owner for all vendors or assign different owners on a per-vendor basis during the termination flow. For the full termination process, see Deactivating and removing users from Ramp.
Vendor notifications
Vendors and Admins can receive the following emails:
- Request for payment details (users: Vendor)
- Reminder to add your bank details before the payment date (users: Vendor)
- Reminder to add your bank details on and after the payment date (users: Vendor)
- Vendor bank details added successfully (users: the Accounts Payable role and Admin, if bill originators)
- Vendor bank details failed to add bank details (users: the Accounts Payable role and Admin if bill originators)
- Payment was sent (users: Vendor)
- Payment was delivered (users: Vendor)
- Payment was failed, returned, or changed (users: Vendor)
Vendor settings
You can manage vendor requestsin Vendor settings > Vendor onboarding.
- Toggle on Use entity name in vendor emails if you want the default entity name to be shown in vendor emails. When this is off, the primary business name will show in emails. This is particularly useful for multi-entity businesses.
Frequently asked questions
How do I pause or hold payments for a vendor?
If your business has access to vendor holds, you can place a vendor on hold to block all current and future payments at once. See Hold payment for bills and vendors.
Otherwise, use these options depending on the situation:
- Unschedule approved bills — Select bills in the Bill Pay tab and choose Unschedule to remove their payment dates. This prevents payment from being initiated while keeping the bills in your queue. You can reschedule them later when ready. See bill bulk actions for details.
- Cancel scheduled payments before transfer — For payments that have been scheduled but where the outbound transfer to the vendor has not yet been initiated, select the bills and choose Cancel. Once the transfer to the vendor has been initiated, the payment cannot be canceled. See Cancel a bill for details.
- Mark the vendor as inactive — Marking a vendor inactive flags the vendor so your team sees a warning when creating new bills for that vendor. This does not stop existing scheduled or in-flight payments.
Can I put a single bill on hold?
If your business has access to bill holds, you can place a hold on an individual bill directly from the bills table or bill detail drawer. See Hold payment for bills and vendors.
Otherwise, you can unschedule the bill to remove its payment date, or cancel its payment if it has already been initiated. Navigate to the bill in Bill Pay and use the available actions. See Managing bills and payments on Bill Pay for the full list of bill actions.
Does Ramp support early payment discount terms (such as 2/10 net 30)?
Ramp does not currently support configuring structured early payment discount terms on vendor profiles or bills. Net payment terms set the due date for bills but do not include a discount component. To apply a discount or credit against a bill, see Vendor credits / Credit memos on Ramp Bill Pay.
How do I stop paying a SaaS vendor or cancel a subscription?
Ramp does not cancel subscriptions with external vendors on your behalf — you must cancel the subscription directly with the vendor. However, Ramp provides several tools to manage the process and stop payments on your side:
- Mark the contract as "won't renew" — If you track the vendor's contract in Contracts & renewals (Ramp Plus), open the contract and select Mark as won't renew . You must provide a reason. You can also choose to mark the vendor as inactive at the same time. This records the decision and updates the contract status, but does not automatically stop pending payments or block cards.
- Mark the vendor as inactive — Mark the vendor as inactive from the vendor profile. This flags the vendor so your team sees a warning when creating new bills, but does not stop existing scheduled or in-flight payments.
- Lock or terminate the card — If the subscription charges a Ramp card, lock or terminate that card to prevent future charges. See How to lock or terminate Ramp funds and cards .
- Unschedule or cancel pending bills — If you pay the vendor through Bill Pay, unschedule approved bills or cancel in-flight payments from the Bill Pay tab. See Managing bills and payments on Bill Pay for details.
Note: Each of these steps is independent. Marking a vendor as inactive or a contract as "won't renew" does not automatically stop pending payments or block cards. Take each step separately based on how you pay the vendor.