Okta integration: Set up role assignments
Overview
This document will walk through setting up a roles attribute on the Ramp user profile in Okta that will sync over to Ramp user roles via your existing SCIM integration. For help with initial SCIM setup, visit this article.
Tip: Looking to assign multiple roles or Custom Roles via SCIM? See Assign roles by Ramp Role ID in Okta (Early Access).
Note: Role assignments from Okta are currently only supported for businesses with access to the full Ramp suite, including card issuing. Other Okta SCIM features are still fully available.
Assign a system role in Okta (rampUserRole)
Roles will be applied to users upon creation or update and will behave similarly to those manually updated in the Ramp application. If a user’s role cannot be updated successfully, an error will be displayed in the Ramp People tab.
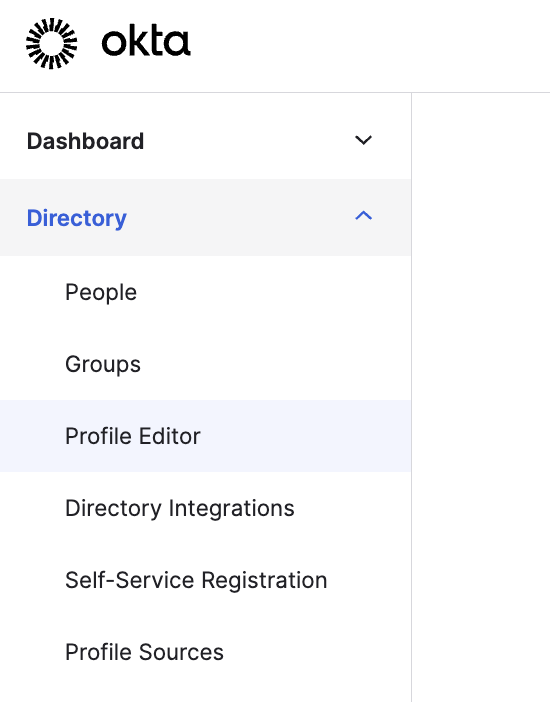
To begin, click into Profile Editor under Directory in the Okta sidebar menu.
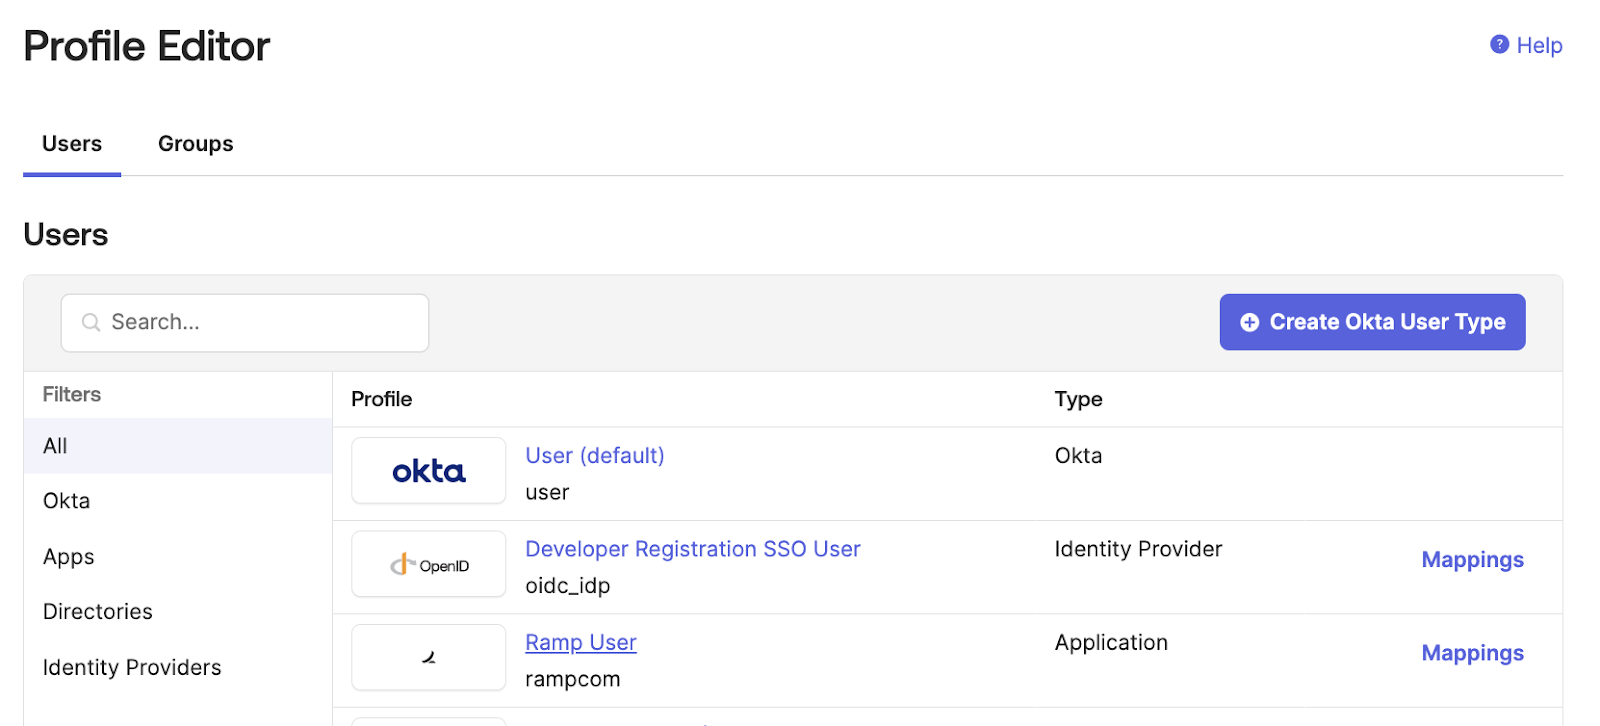
Click into your Ramp application user profile (the name depends on your initial configuration of Ramp).
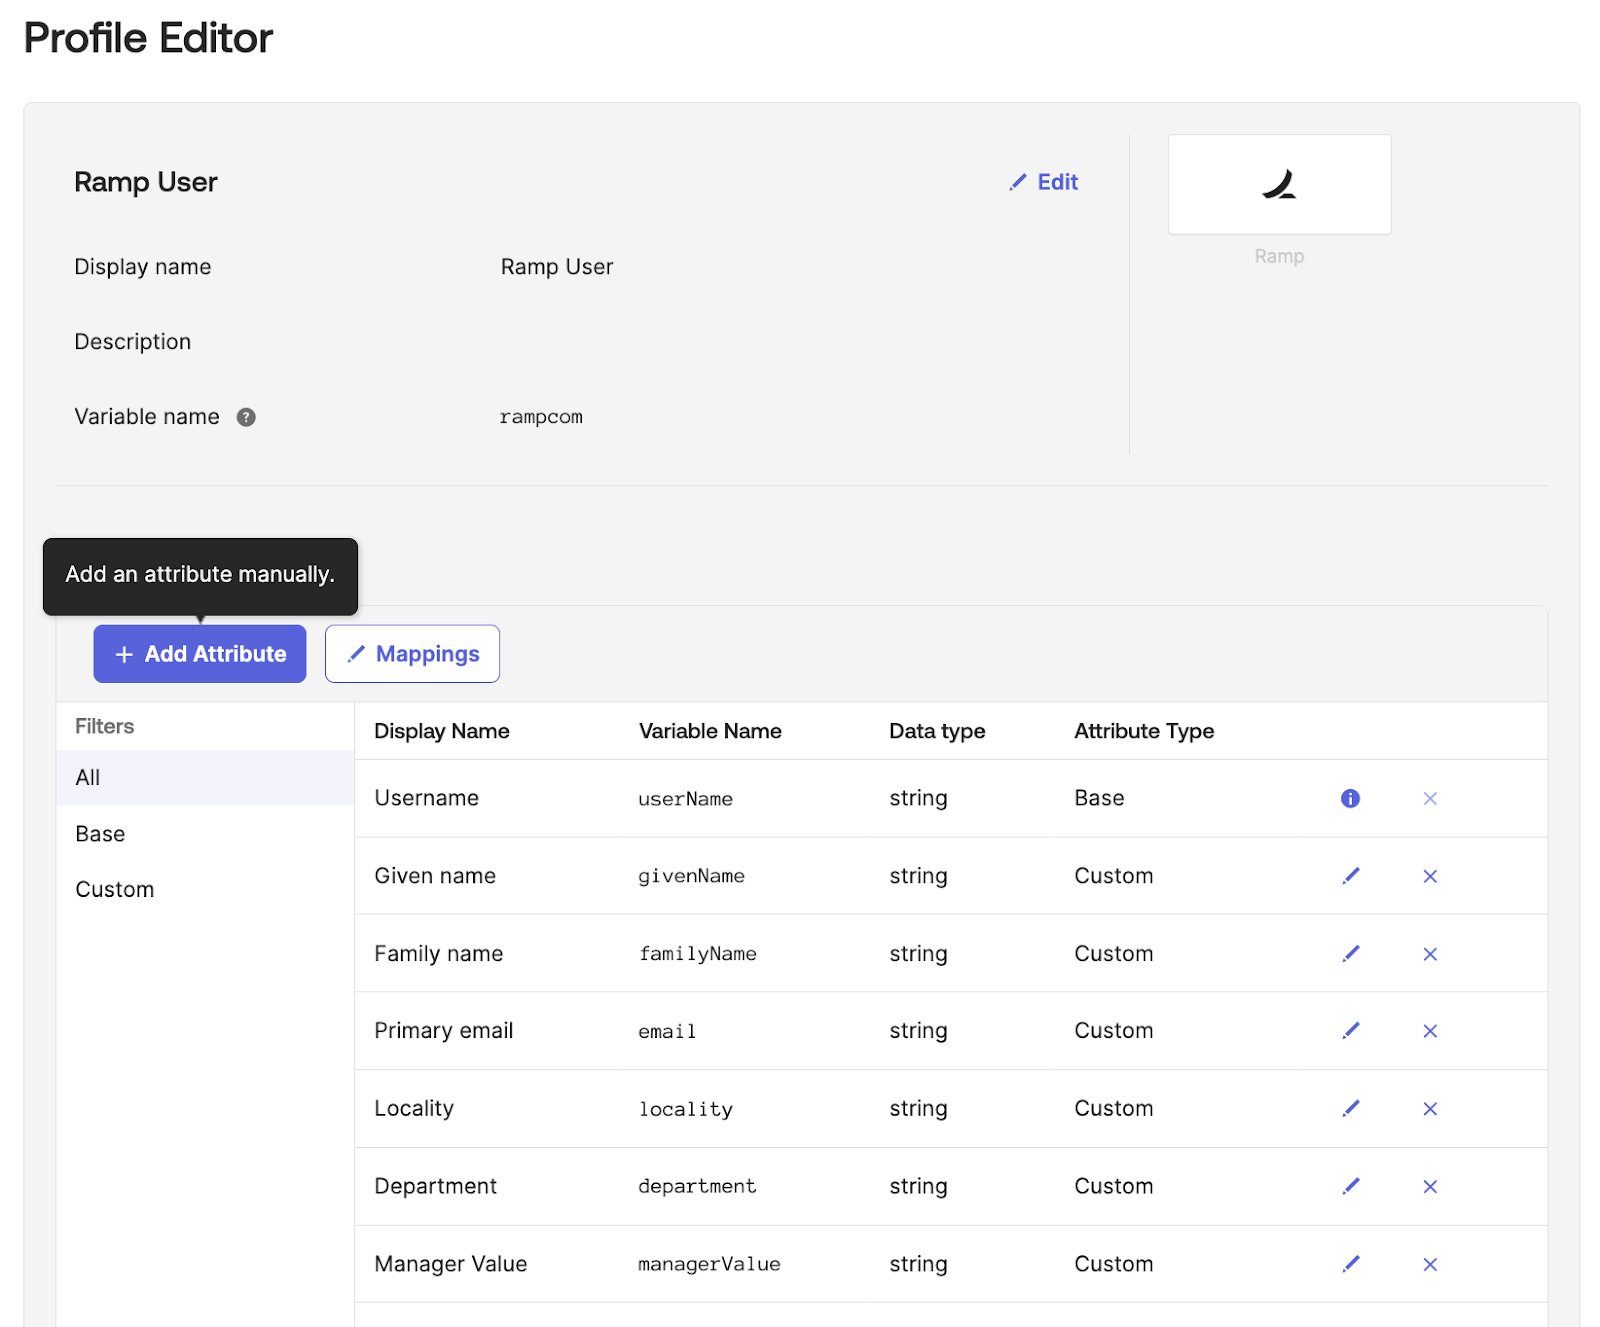
Click Add Attribute to create a new attribute for role assignments.
You'll need to configure the following settings (a screenshot is attached to the end of this document):
- Choose any display name and variable name that makes sense for your organization
- Set the External name to
roles.^[type=='rampUserRole'].value - Set the External namespace to
urn:ietf:params:scim:schemas:core:2.0:User - Add a description of your choice to help other administrators understand the attribute's purpose
In the Attribute enum section, configure the following roles:
| Display name | Value |
|---|---|
| Owner | BUSINESS_OWNER |
| Admin | BUSINESS_ADMIN |
| Cardholder | BUSINESS_USER |
| Accounting | BUSINESS_BOOKKEEPER |
| Guest | GUEST_USER |
| IT Admin | IT_ADMIN |
We recommend leaving the role attribute as optional. When no role value is specified, Ramp will either:
- Keep the user's existing role (for updates to existing users)
- Default to creating the user as a BUSINESS_USER (for new users)
To assign roles to users, navigate to the Profile Mappings section of your application. Here you can create rules to automatically assign roles based on:
- Group membership
- Other profile attributes
- Any combination of conditions supported by Okta's expression language
Once configured, users provisioned to Ramp will receive their designated roles based on your mapping rules. Users should appear in Ramp's People with their updated roles within approximately 10 minutes of provisioning
More documentation on setting up Custom Role attributes in Okta can be found at this link.
Please note the following:
- Cardholder includes both users and managers. Manager users should be assigned the BUSINESS_USER role.
- The GUEST_USER role can only be assigned during initial user creation. Consider using group-based assignments to ensure users who need the Guest role receive it during their initial provisioning.
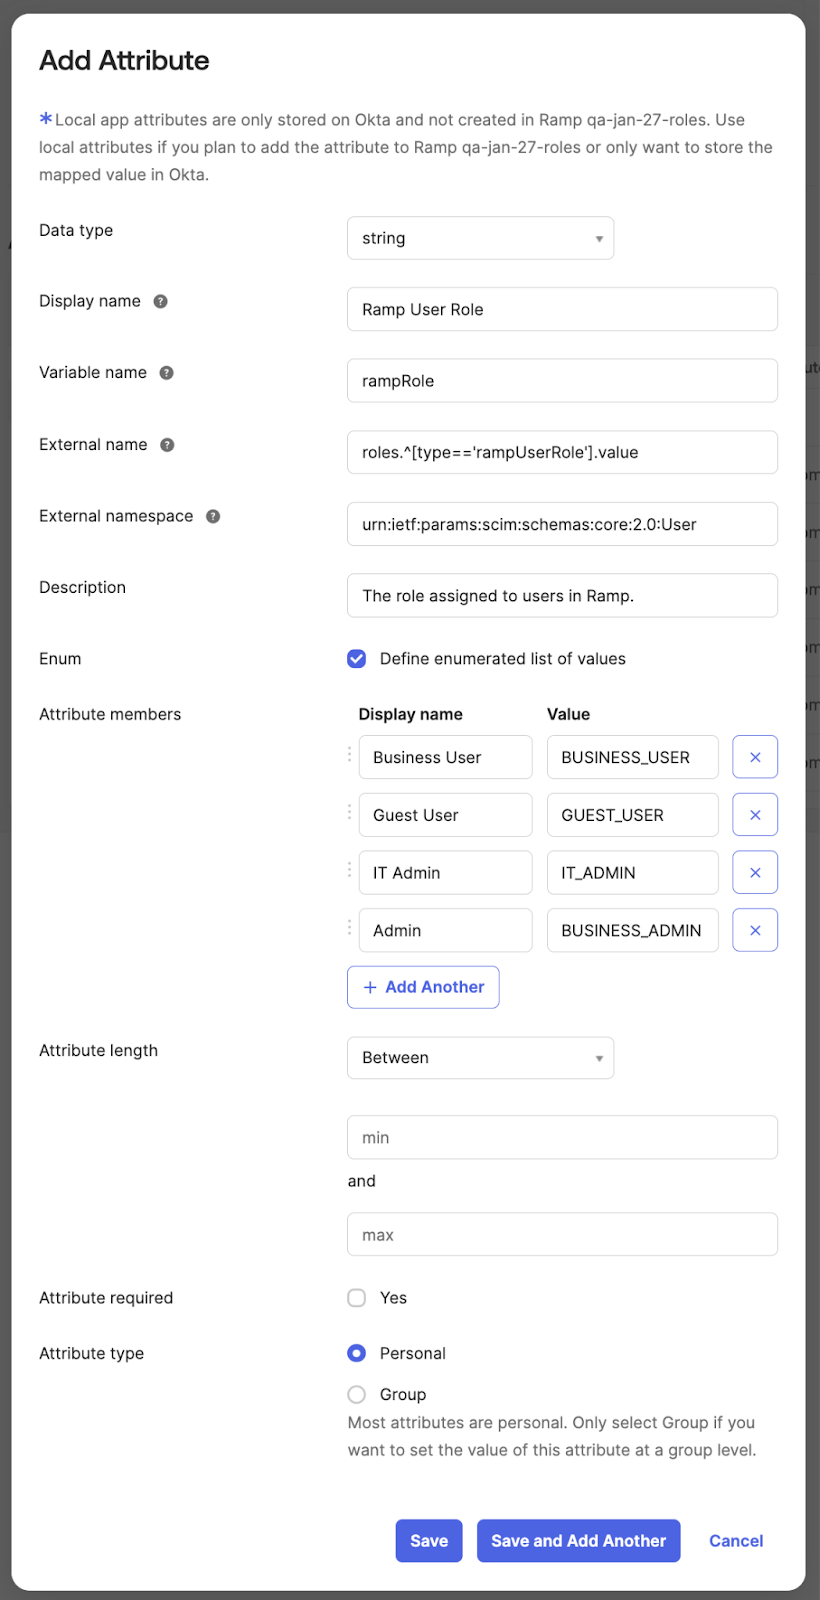
Recommended Okta Role attribute setup.
Assign roles by Ramp Role ID in Okta (Early Access)
Early Access. Ramp Role ID assignment is currently in Early Access.
Important: After you add the Ramp Role ID
rolesattribute to your Okta profile, use it for every new user and every role update. When both role attributes are present in Okta, assignments made only through the previousrampUserRoleattribute are not included in the SCIM request Okta sends to Ramp. Existing users keep their current roles until you change those roles through the newrolesattribute.
The roles attribute assigns roles using stable Ramp Role IDs as a direct string array. This supports both built-in roles and Custom Roles, and allows assigning multiple roles at once. Custom Roles require Ramp Plus. Include multiple Ramp Role ID strings to assign multiple roles to a single user.
If ramp-admin is included with other Ramp Role IDs, Ramp assigns the Admin role and ignores the other roles.
Not all role combinations are valid — for example, Custom Roles can only be assigned to users with Employee, Accounting, or IT Admin as their base role. See User roles overview for details.
Update users from system roles to Ramp Role IDs
Important: Before migrating your whole organization from legacy role assignments to Ramp Role IDs, test the new assignments with a small group. After provisioning, confirm that each user's roles and reporting structure match what you expect before moving the rest of your team.
When you migrate an existing user from a system role to Ramp Role IDs, include every role the user needs in the new roles attribute. Before updating the user, confirm their base role, Manager role, and any Custom Role add-ons, then add the corresponding Ramp Role IDs to the user's roles value. This prevents a SCIM update from removing role access that was not included in the new attribute.
Example SCIM role entry:
{
  "roles": ["ramp-accounting", "custom-ai-token-spend-admin"]
}
Find your Ramp Role IDs
Ramp Role IDs are stable identifiers that do not change when a role is renamed. To find a role's Ramp Role ID:
- Go to Roles and Permissions in Ramp.
- Select the role you want to assign.
- Copy the Ramp Role ID shown beneath the role name in the drawer heading.
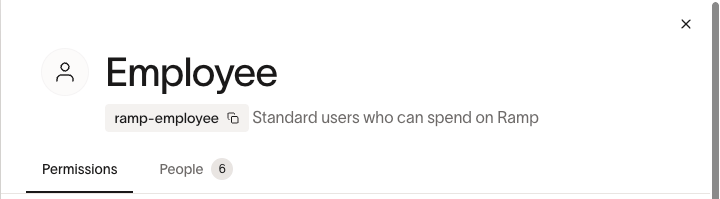
You will need the Ramp Role ID for each role you want to assign via SCIM. For example, the built-in Employee role has the Ramp Role ID ramp-employee, and the built-in Accounting role has the Ramp Role ID ramp-accounting. Custom Roles have Ramp Role IDs set when the role is created.
To review all roles at once, select the download button to download a CSV list of all roles.
Set up the attribute in Okta
- In the Okta sidebar, go to Directory > Profile Editor.
- Select your Ramp application user profile.
- Click Add Attribute and configure the following:
- Set Data type to string array. Okta may show this as
arrayafter you save the attribute. - Set Display name to
Ramp role IDs. - Set Variable name to
rampRoleId. - Set External name to
roles - Set External namespace to
urn:ietf:params:scim:schemas:core:2.0:User
- Enable the Enum checkbox (Define enumerated list of values). Add an entry for each role you want to make available for assignment. For each entry, set the Display name to a human-readable label and the Value to the Ramp Role ID you copied from Ramp.
For example:
| Display name | Value |
|---|---|
| Employee | ramp-employee |
| Accounting | ramp-accounting |
| AI Token Spend Admin | custom-ai-token-spend-admin |
These are examples — your enum values must match the Ramp Role IDs from your own business's Roles and Permissions in Ramp.
Once configured, provisioned users should appear in Ramp with their updated roles within approximately 10 minutes.
For more information on setting up multi-value role attributes in Okta, see Okta's guide on multi-value roles in SCIM.