Multi-Entity Vendor Portal
Overview
Vendors can create multiple entities within their Vendor Portal account, and manage these entities under one sign-in/contact email. This is valuable for vendors that operate multiple businesses or entities under one contact email address. With a multi-entity Vendor Portal account, vendors can map entity-specific payment and tax details to their respective customers.
How to set up a multi-entity Vendor Portal
From a payment or tax details request
- Open the secure payment or tax details request link from the email Ramp sent you. If you don't have a Vendor Portal account, the link prompts you to create one before opening the request
- On the page to submit your payment/tax information, you'll see sub-text under the header about creating an entity if your business has one
- Select here in the sub-text to set up your entity (you can also always do this later using steps below)
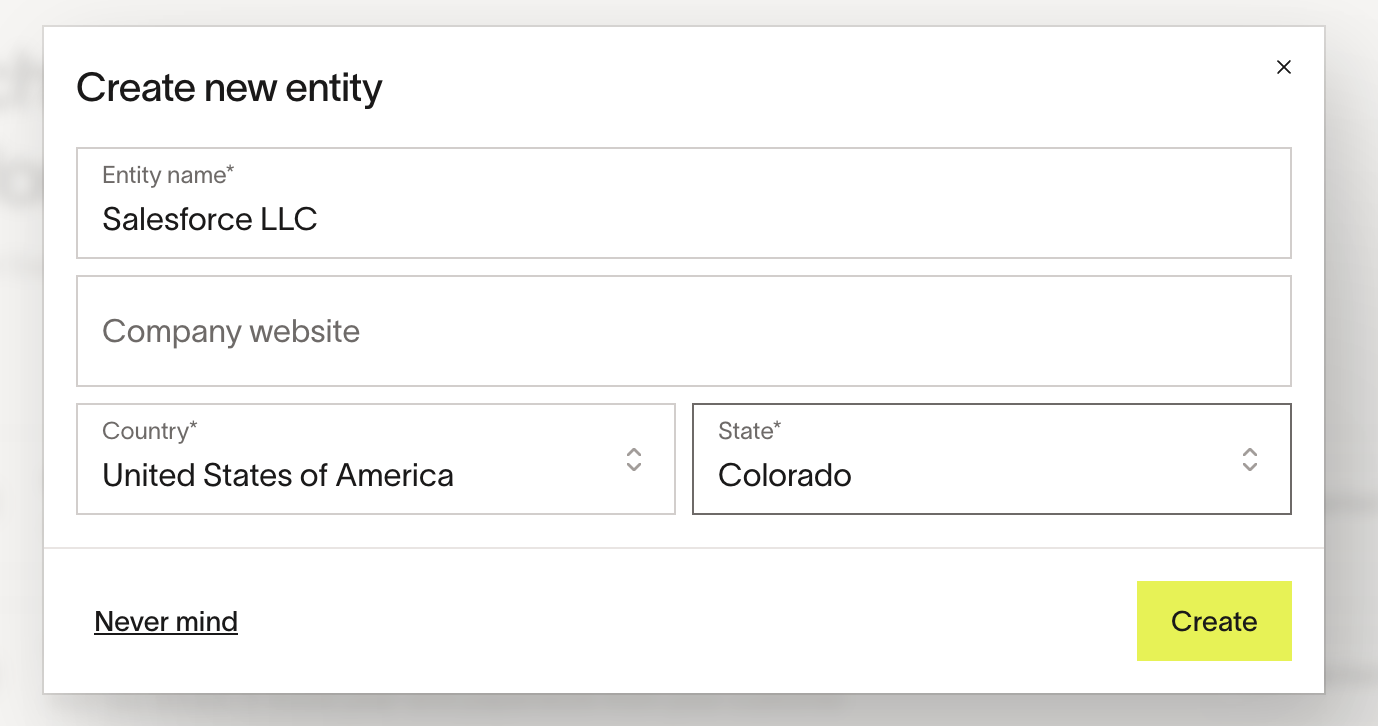
- Add your requested details. Anything added will be tied to the entity you created
From existing Vendor Portal account
- Open Vendor profile
- If you have one entity, open the menu next to your business name. If you have multiple entities, open the entity selector next to your business name
- Select Create new entity and enter the entity details
- Assign any connected customers to the new entity
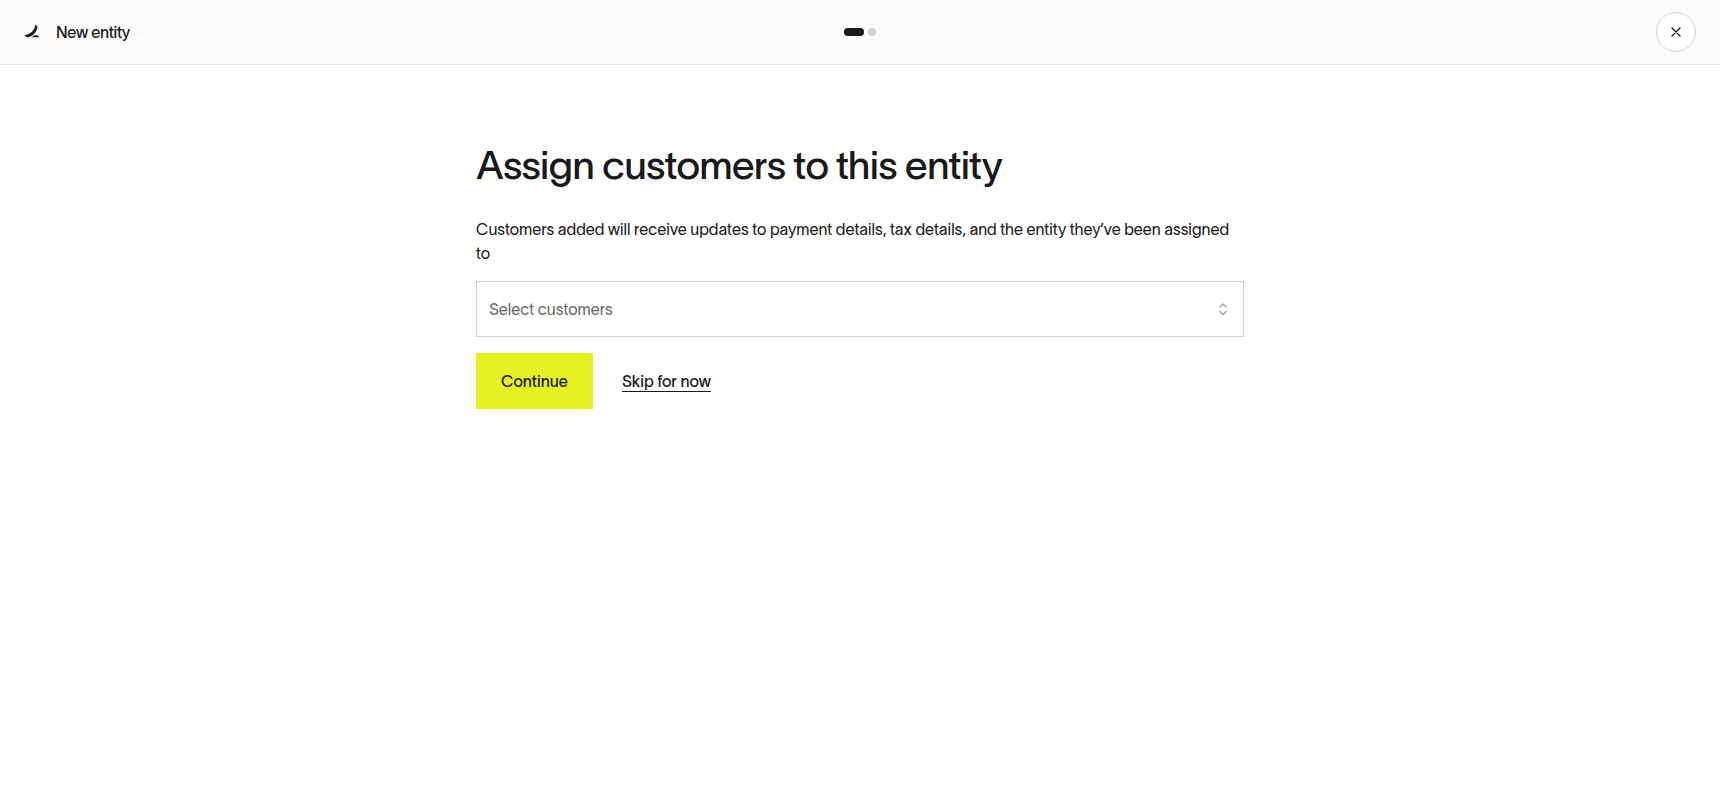
- Select Continue
- Reassigning customers removes any bank accounts previously shared with them
- Add payment and tax details for this entity, or skip this step and add them later
Manage your entity
- When you update your payment or tax details, the updates apply only to the relevant entity. Customers normally review these updates, but some updates can be accepted automatically depending on customer settings. See Ramp Vendor Portal for details.
- You can edit your entity name at any time by editing your Company name. The company name = entity name.
- You cannot delete an entity once it's created.
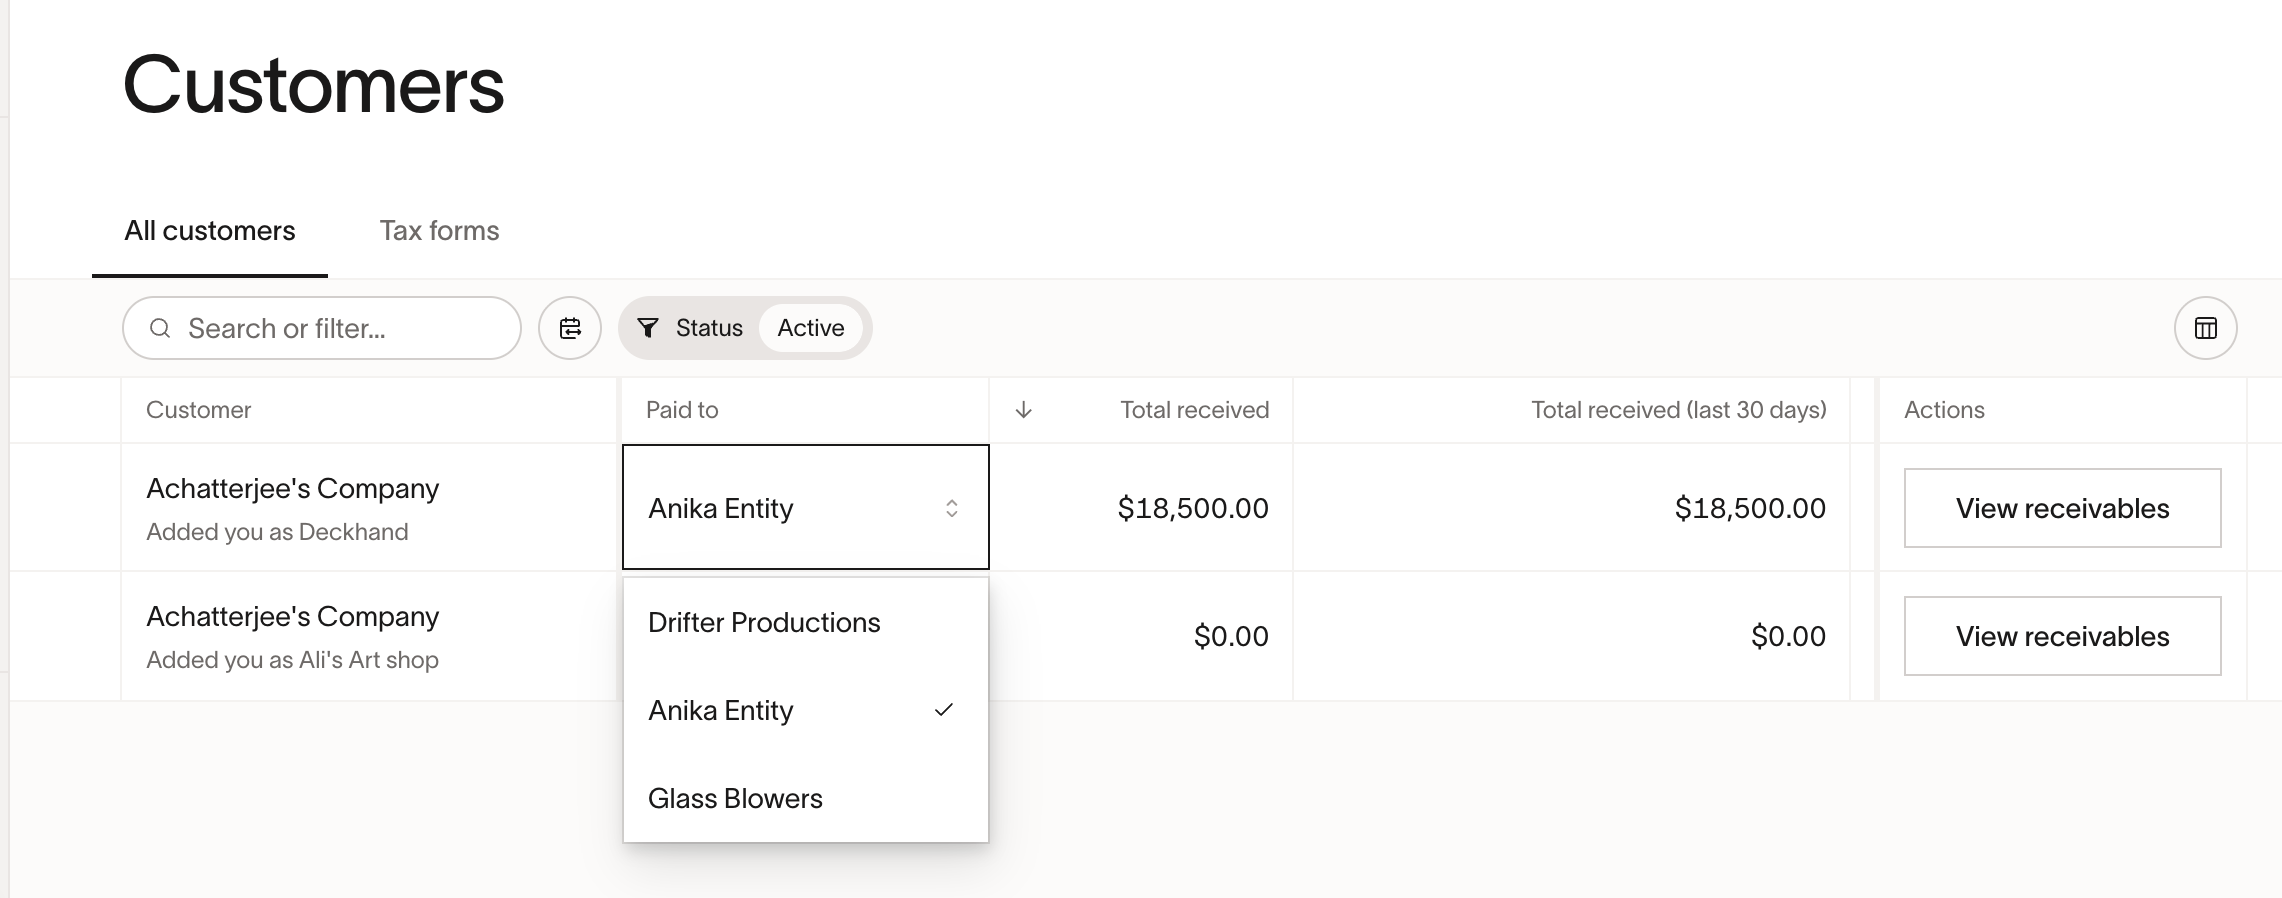
- Go to 'Customers' to view all your connected customers, and which entity they are paying. You can update the entity anytime using the switcher in the 'Paid to' field.