QuickBooks Desktop integration: File export
Overview
To support QuickBooks Desktop customers, we export the QuickBooks Desktop export file (IIF format) for transactions and reimbursements. IIF exports are not supported for statement payments. Instead, statement payments should be manually entered into QBD.
Ramp can export data for these 4 fields (not including the memo):
- Chart of Accounts (Accounting Category)
- Customer
- Vendor
- Class
Setup
Before exporting IIF files from Ramp, you need to import the chart of accounts and lists from QuickBooks Desktop to Ramp and set the default accounts.
On QuickBooks Desktop:
- Set up a Ramp Card account of type Credit Card.
- Ensure that an Accounts Payable account (for use with reimbursements) is of type Accounts Payable.
- Ensure that the payment source for reimbursements is of type Bank Account.
- Generate the IIF files to import into Ramp.
- Switch to single-user mode.
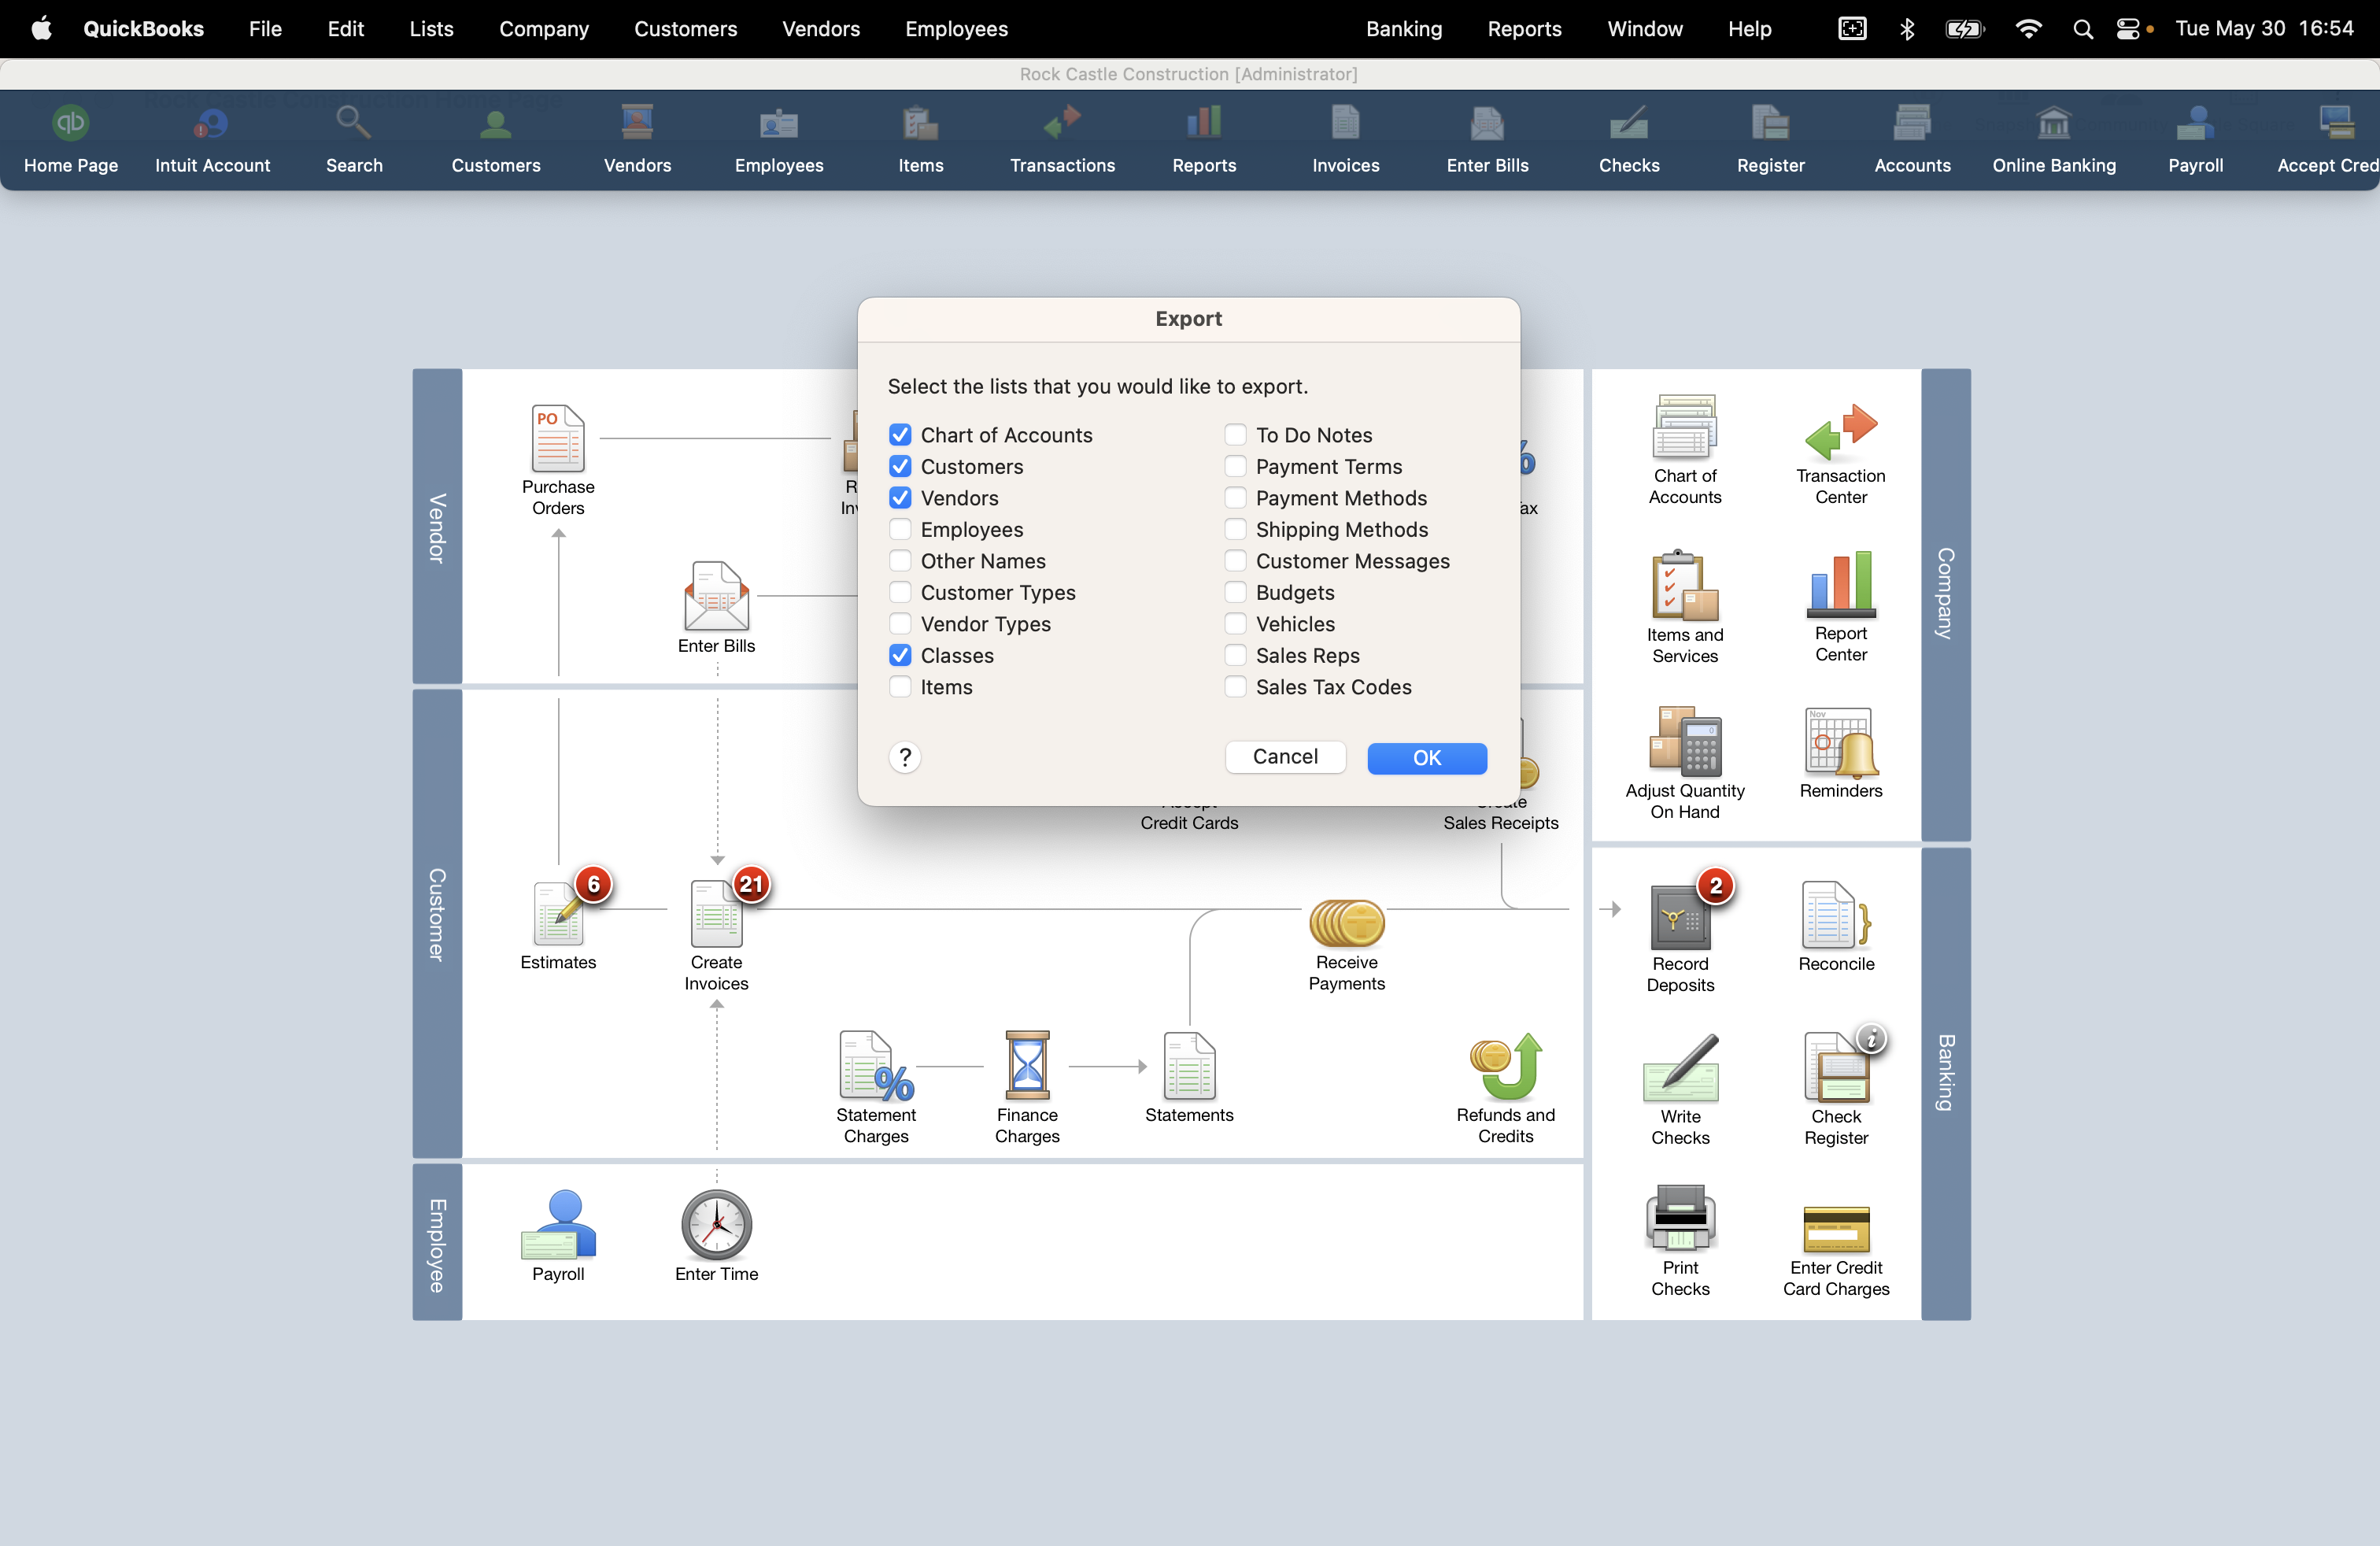
- Go to File > Utilities > Export > Lists to IIF Files .
- Select Chart of Accounts, Customer, Vendor, and Class (if applicable).
- Click OK to export the IIF file
You should have a Credit Card, Bank and Accounts Payable account in your chart of accounts.
On Ramp:
- Drop or import the IIF file exported from QuickBooks Desktop into the setup screen to populate the accounting categories.
- Select the Ramp Card credit card account.
- Go back to Accounting Settings (click the Settings button on the Accounting tab).
- Click the Sync settings button.
- If you have multiple entities, set the entity in the Editing settings for field at the top.
- Select the Ramp Card account you made in QuickBooks Desktop in the Accounting credit card liability account field.
- In the Statement payments section, select the bank account you want your card payments to come from.
- Set your cash account in the Select Accounting cash account field. > Default Accounts to set up your default A/P account and cash accounts for reimbursements.
- Set your cashback account in the Accounting redeemed cashback account field.
- Set the Default accounting date if desired.
- Click the Save changes button.
- Change to the Reimbursements tab to set the Accounting reimbursement accounts payable , Reimbursement payments , and reimbursement Accounting cash account , then click the Save changes button.
If you change your accounting categories on QuickBooks Desktop, you need to update the categories in Ramp as well.
- Re-export the lists from QuickBooks Desktop ( File > Utilities > Export > Lists to IIF Files ).
- In Ramp, go to the Accounting tab, click the Settings button, and click the Accounting fields button.
- Find Need to make changes? Import a new IIF file and click the link to import the IIF files.
- Note: If nothing populates in the credit card or AP drop downs, make sure they have the correct account type in QuickBooks Desktop.
- The Ramp card account should be type Credit Card.
- The A/P account type should be Accounts Payable.
Sync to QuickBooks Desktop
See Syncing transactions & reimbursements on Ramp to learn about the layout of the Accounting tab, what its subtabs are for, and how to set the default accounting date.
You can sync to QuickBooks Desktop using CSV files or IIF files:
- Click the Export all button. The next screen displays the items in the export.
- Click Export IIF file to export the items in an IIF file.
- Click the Export as and select Export as CSV file to export the items in a CSV file.
- Click the Export as and select Export as journal entries to export the items in a CSV file as journal entries.
- The downloaded file is in your browser's download folder.
- Import the file into QBD. Here's a helpful guide on importing and exporting in QuickBooks Desktop .
- Note: Ramp does not support IIF file exports for statement payments.
Transactions in QuickBooks Desktop
Note: To import an IIF file into QuickBooks Desktop, a user needs Administrator or External Accountant privileges. Thus, any user managing this process who is not one of these roles needs to have permissions updated. For more information regarding permissions, please visit this article.
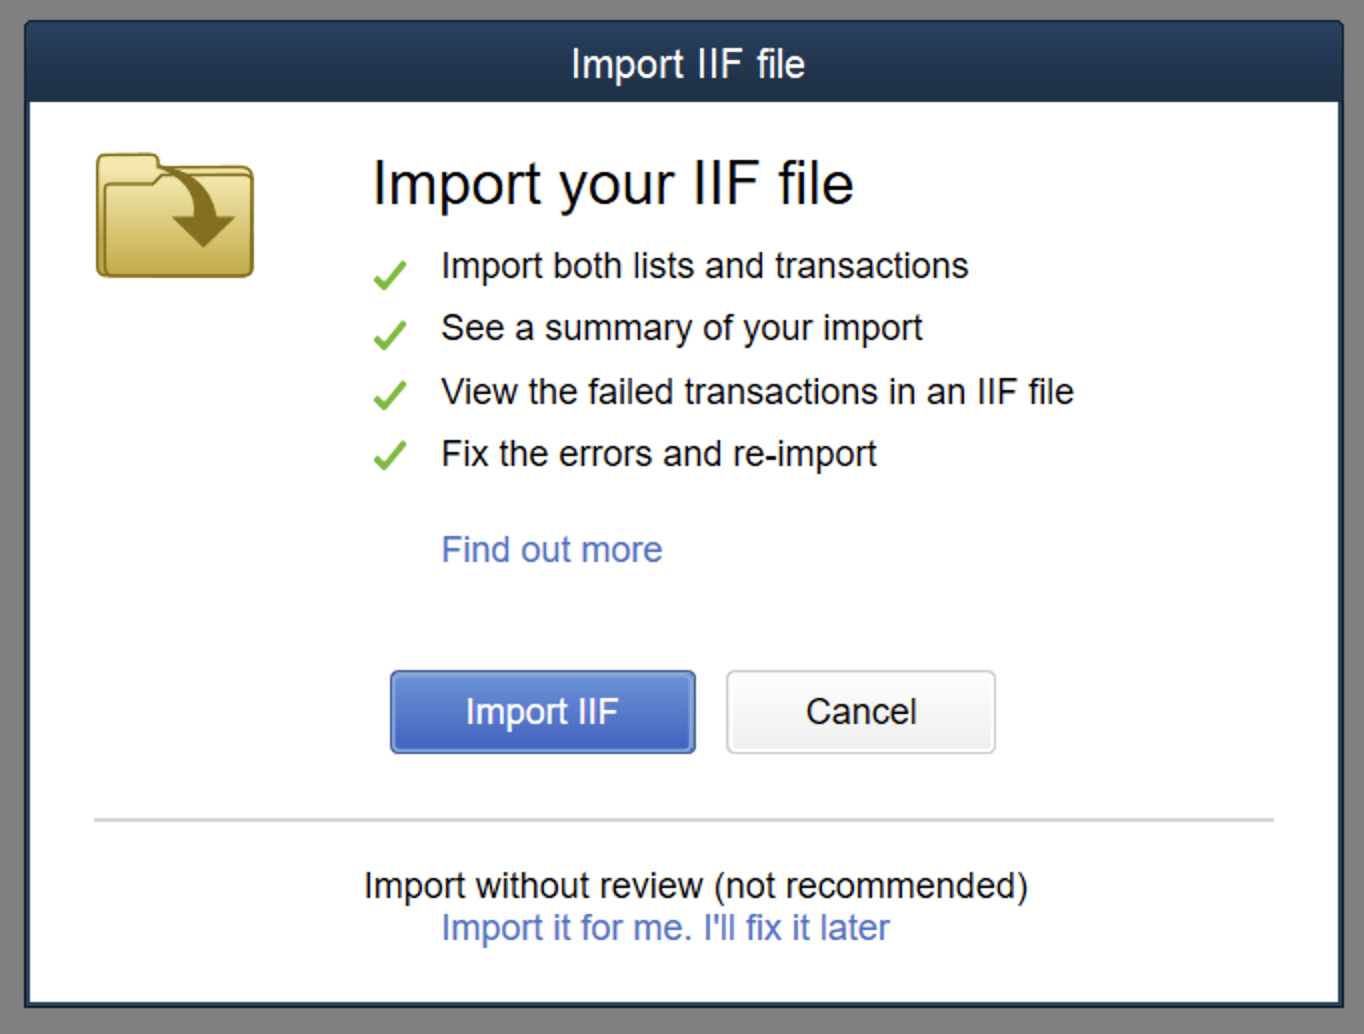
An IIF file exported from Ramp can be uploaded into QuickBooks (in single-user mode only) via File> Utilities> Im****port> Import IIF. Select the file and click the OKbutton to import. (Tip: Back up the local QuickBooks company file first).

If you have any windows open, you will see this:
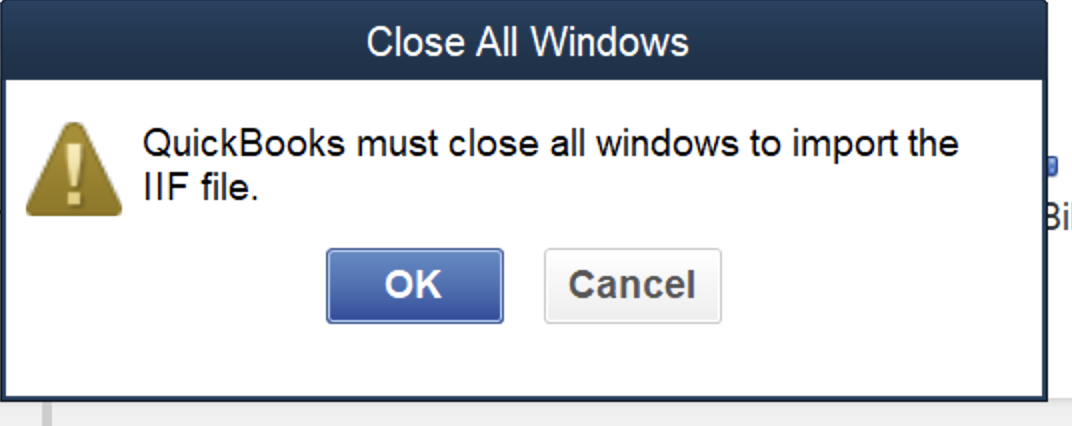
Click the OK button to close any open windows and open the IIF import dialog:
You can select a file to Import. The dialog only accepts files with an IIF extension.
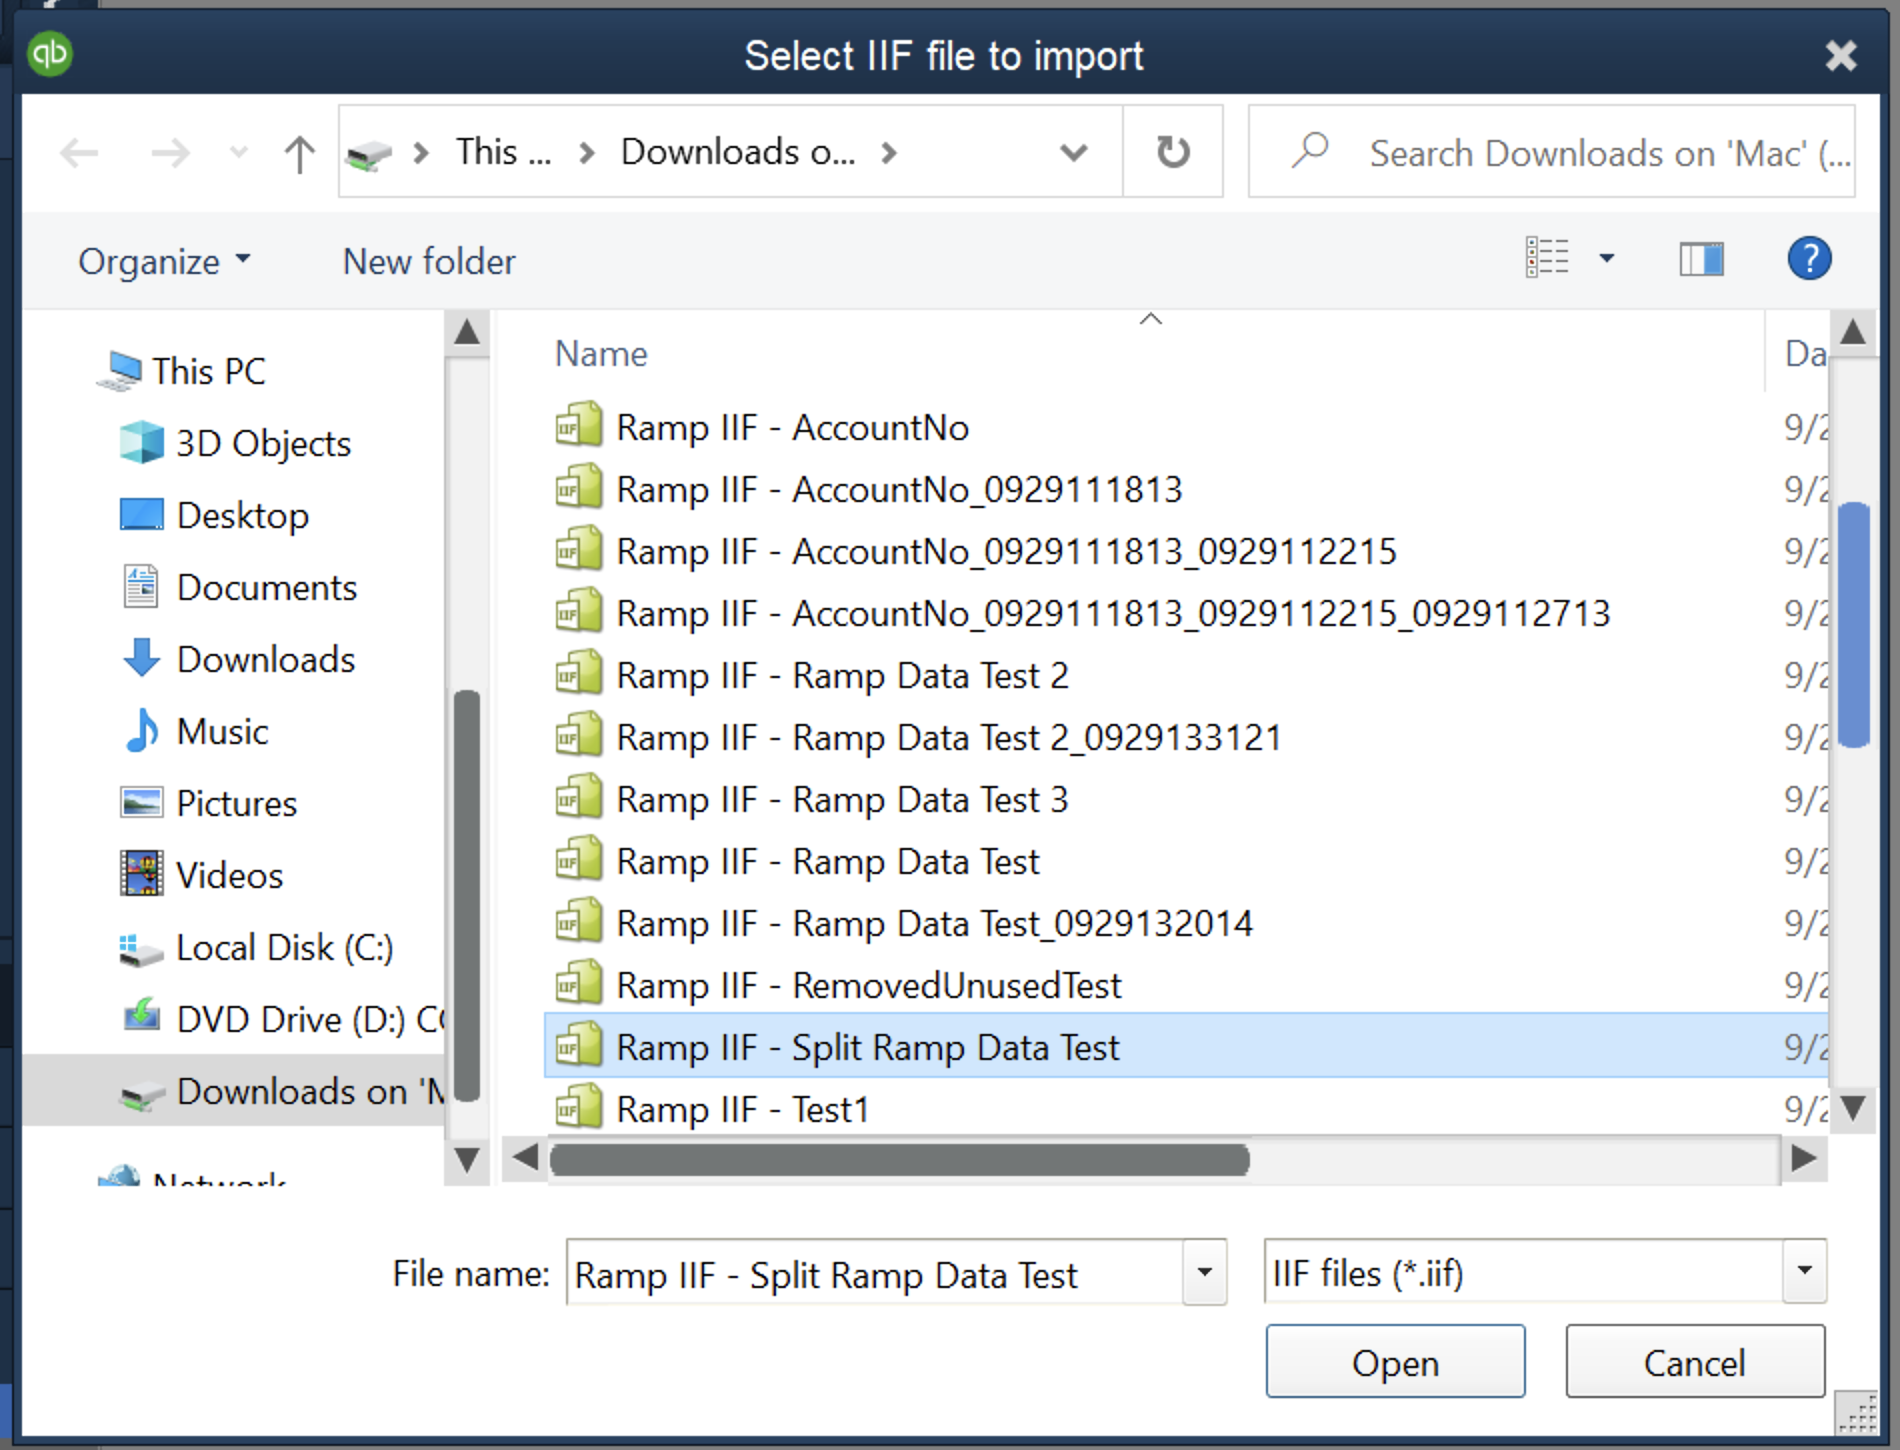
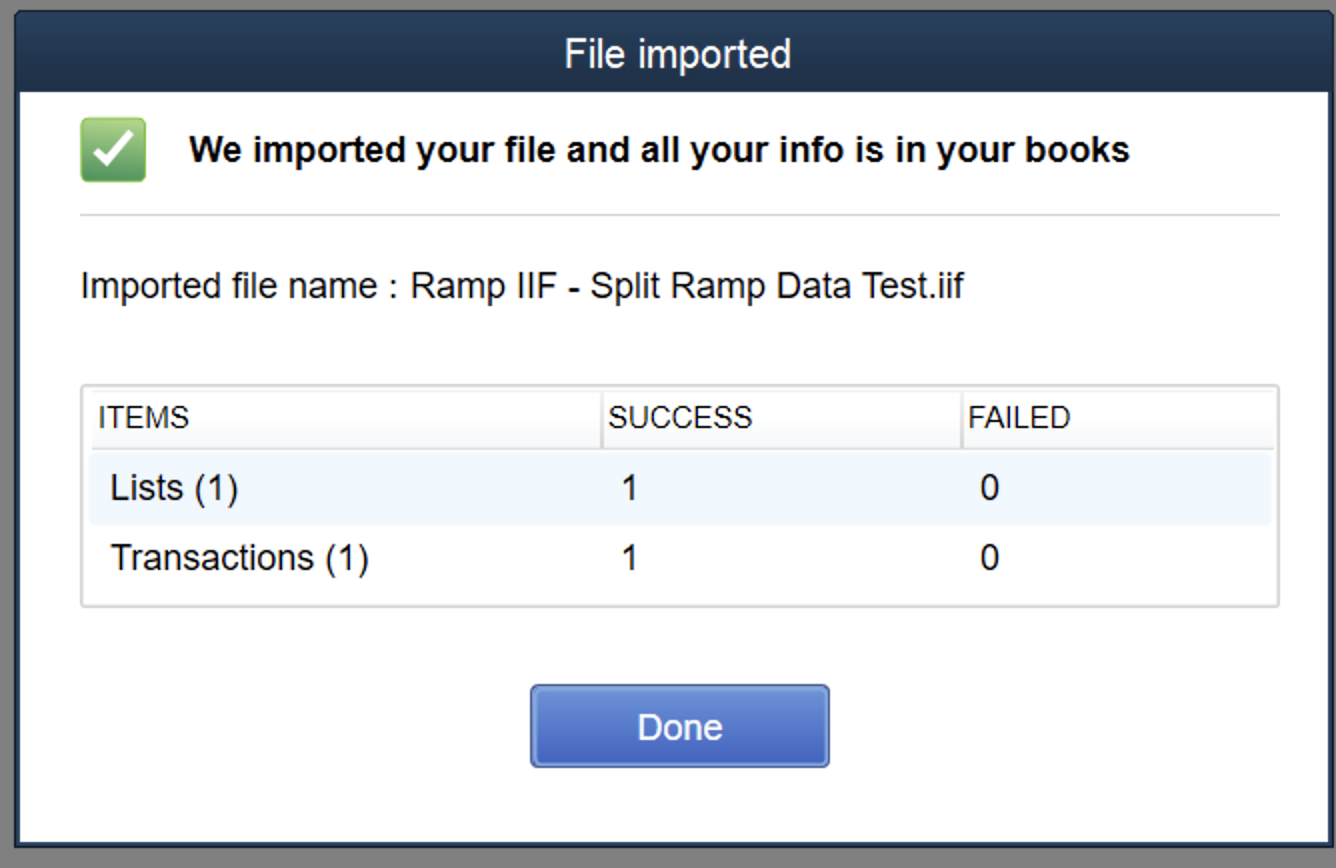
In the above dialog, the IIF has been successfully imported. In this instance, a list item (in this case, a vendor) has also been successfully imported, and the transaction has also been imported.
The data shows up on the QuickBooks Desktop Bills screen as a Paid Transaction:

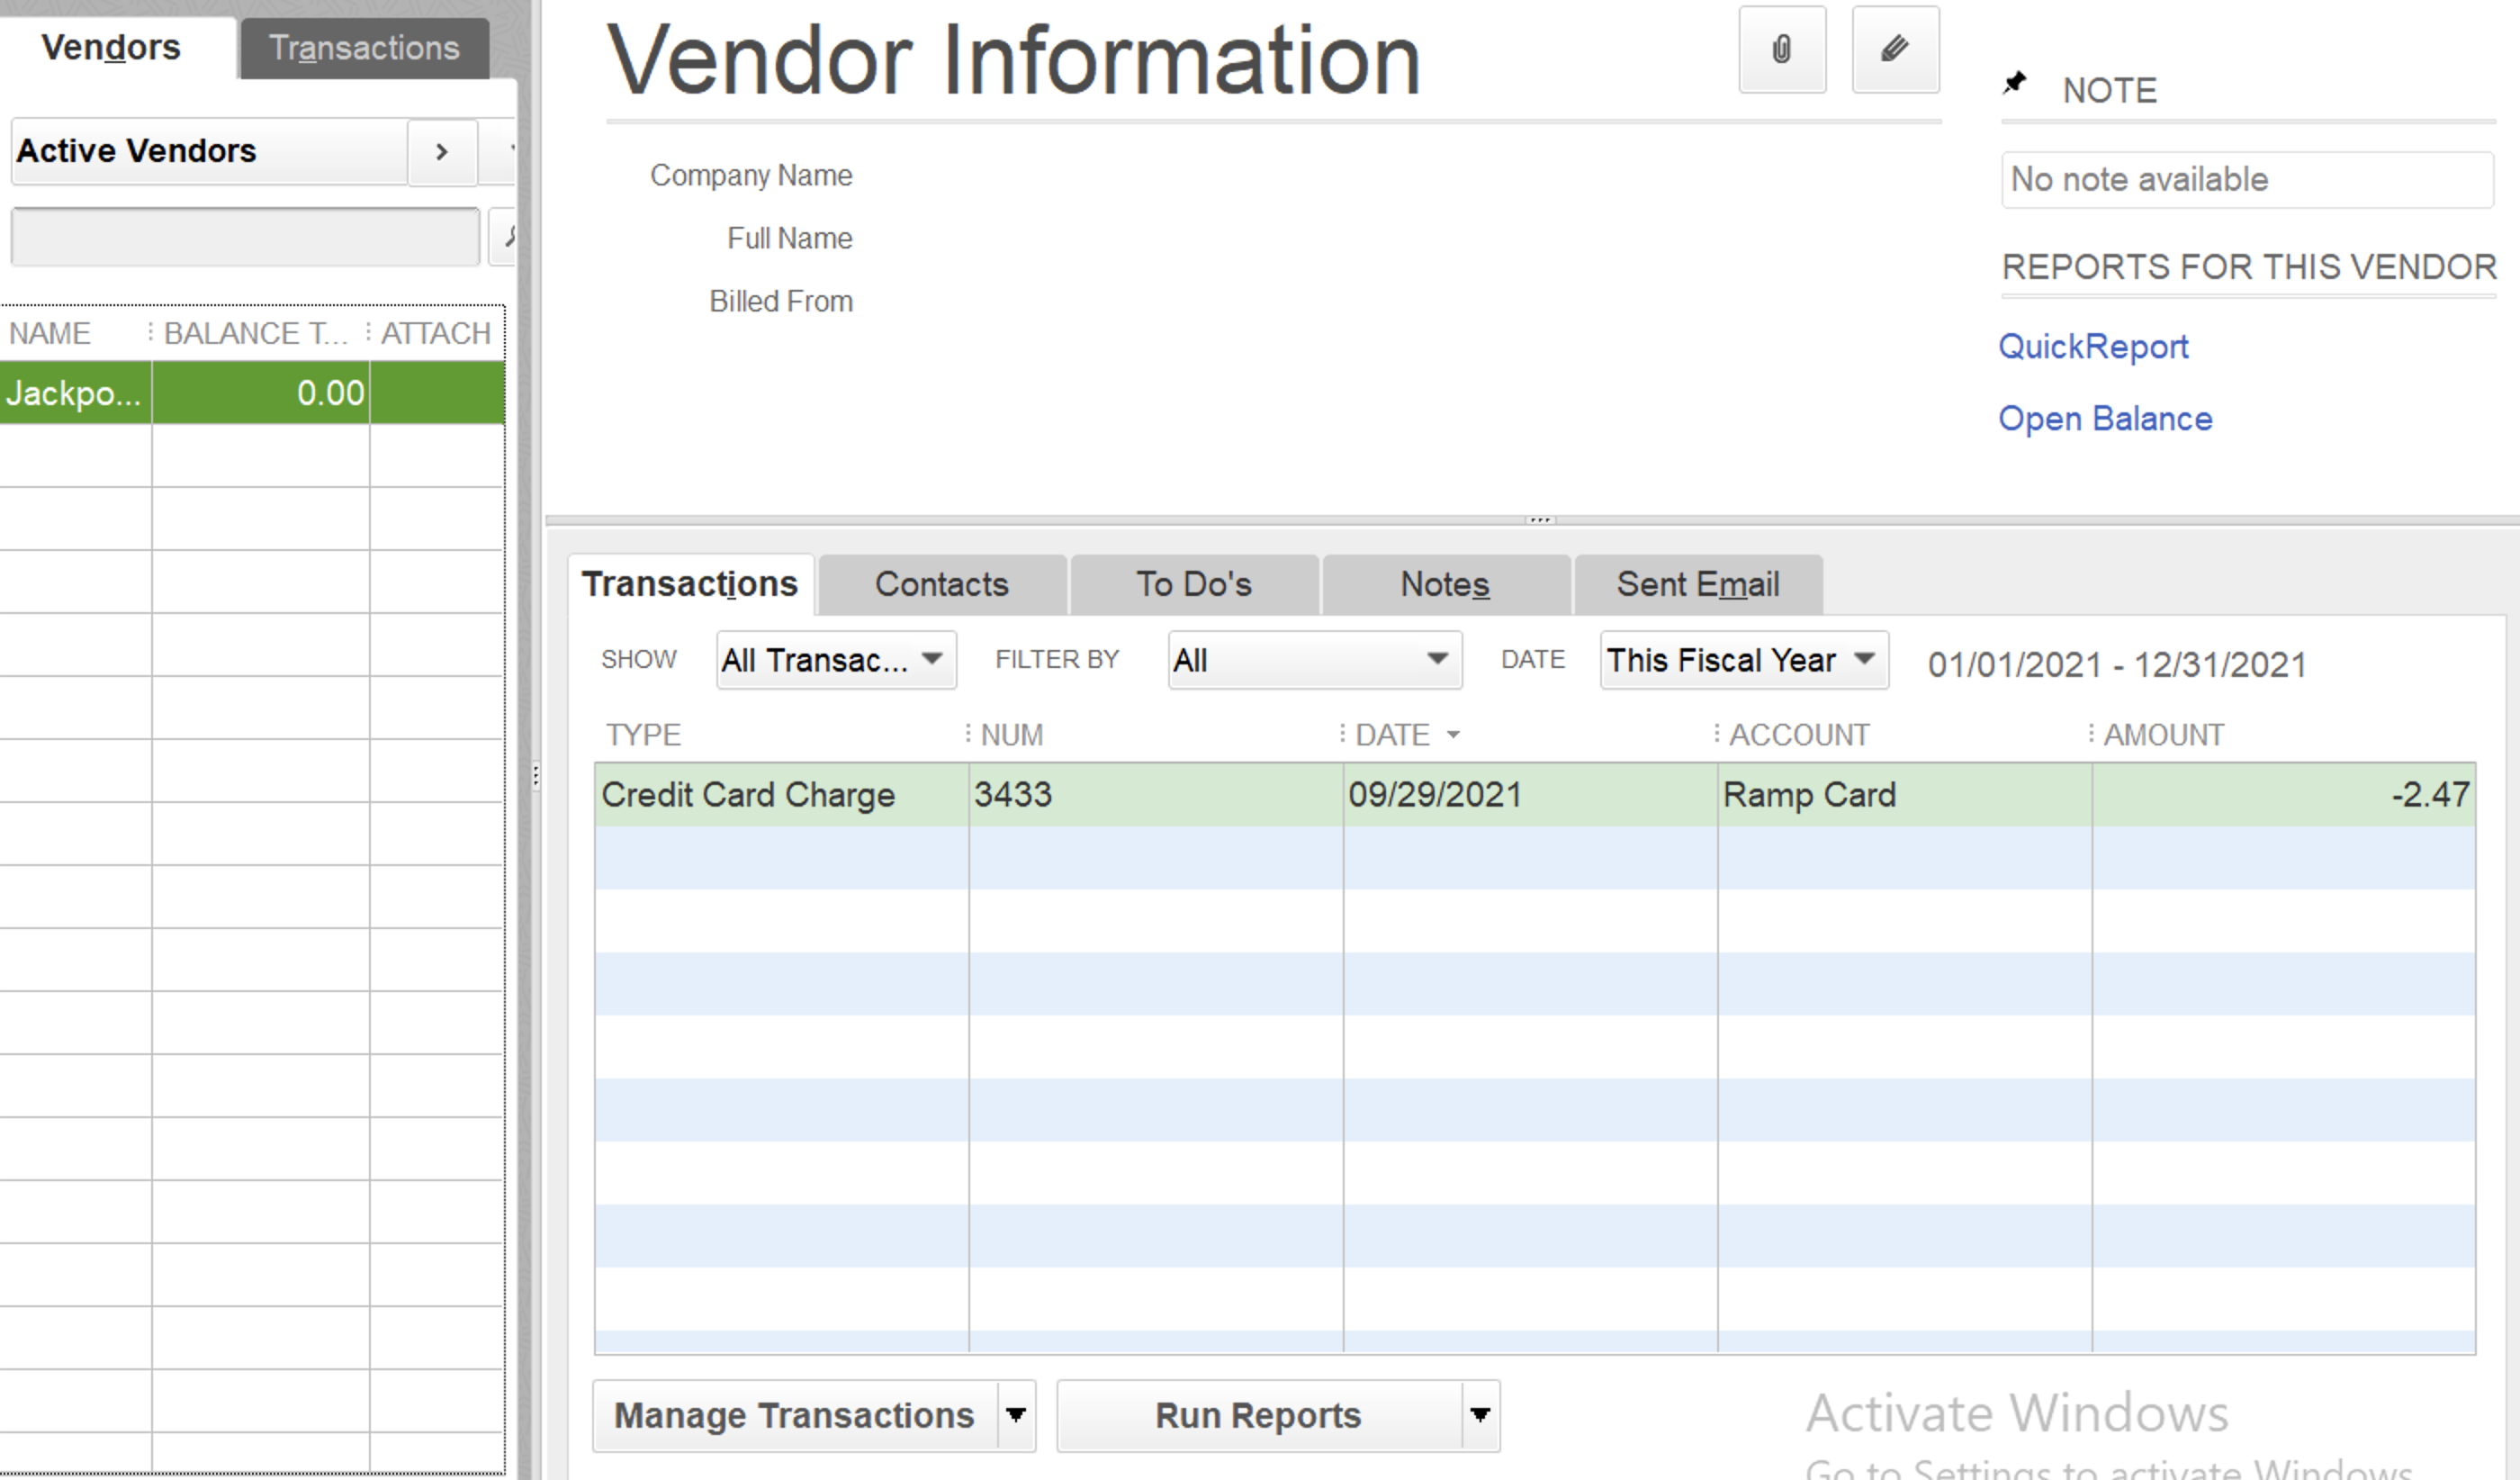
It shows up under Vendor Transactions:
Click on the transaction view details of the split and the expense accounts it has been allocated to:
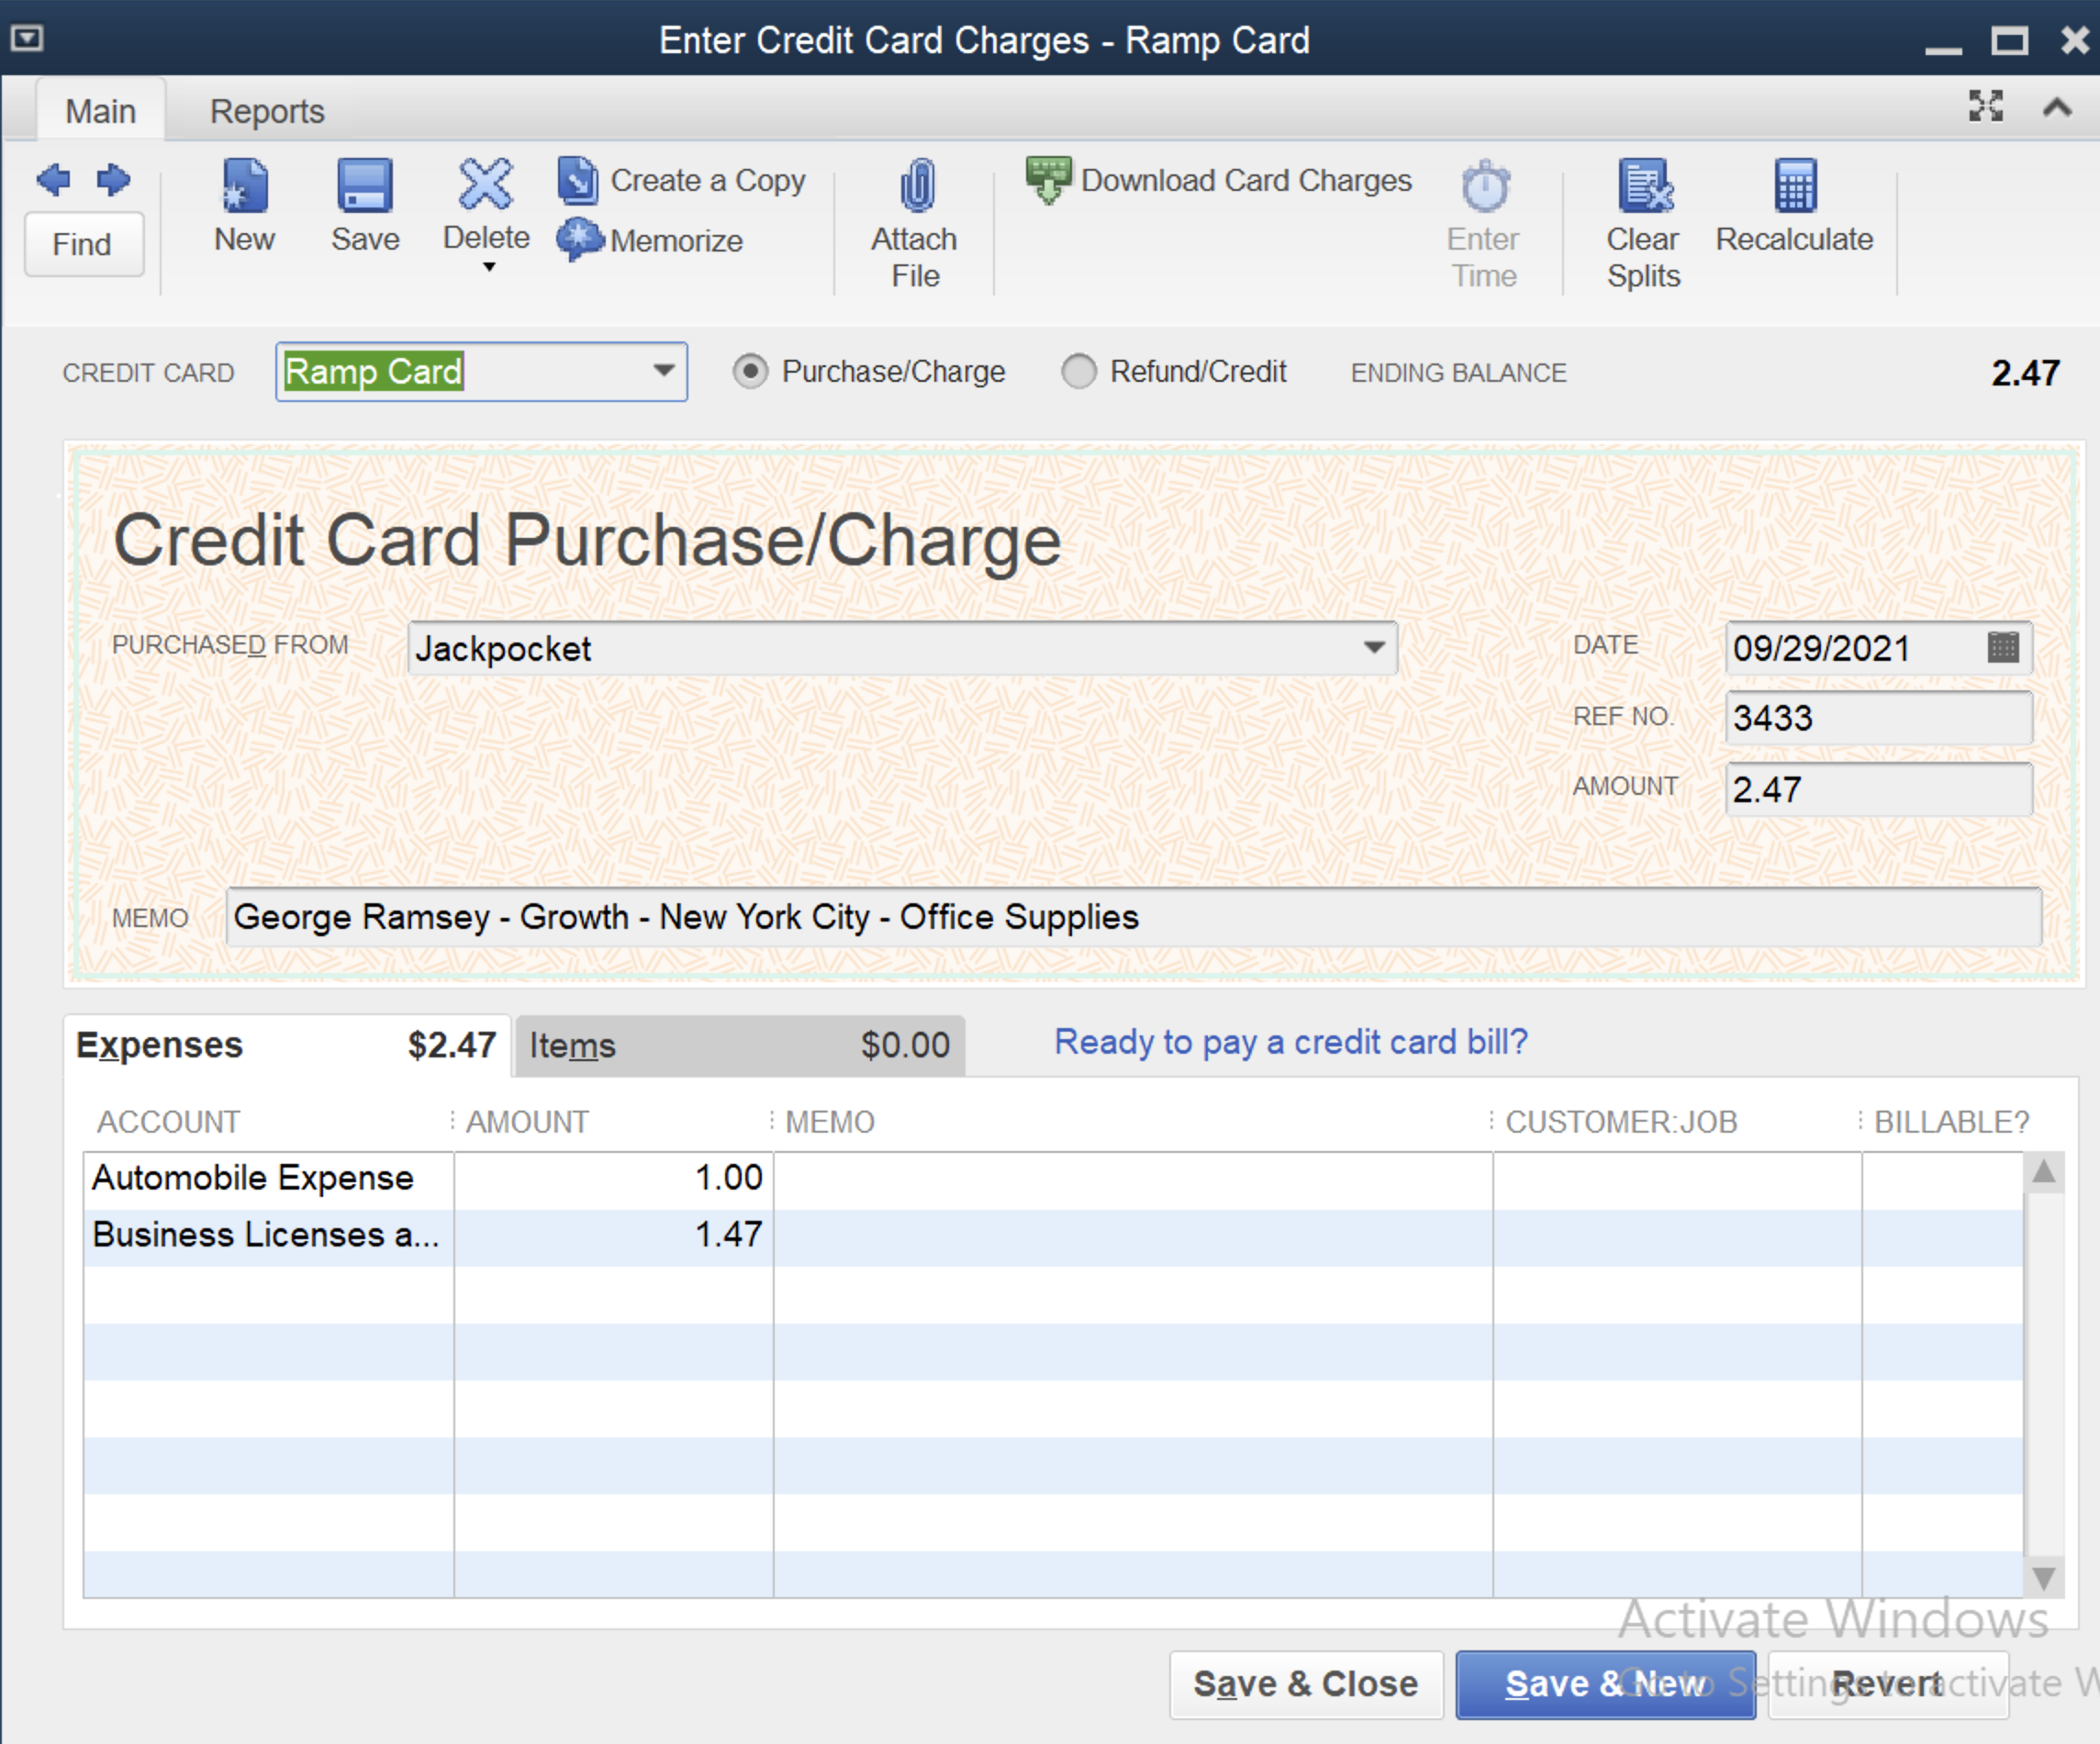
No categorization step is required on the QuickBooks side, as this has been done on the Accounting tab in Ramp, and no separate import of vendors is required either.
Note: If you get an error message, QuickBooks Desktop generates another IIF file with error messages for each failed import. Use Excel to view the file and get the error message(s). If you contact Support about a failed sync, please attach this file to aid in troubleshooting.
Statement payments in QuickBooks Desktop
You cannot export statement payments in IIF files. Instead, the recommended procedure is to enter the payment in QuickBooks Desktop manually.
Reimbursements in QuickBooks Desktop
After the IIF file is imported into QuickBooks, go to each Employee, open up a Bill and click Pay Bills.
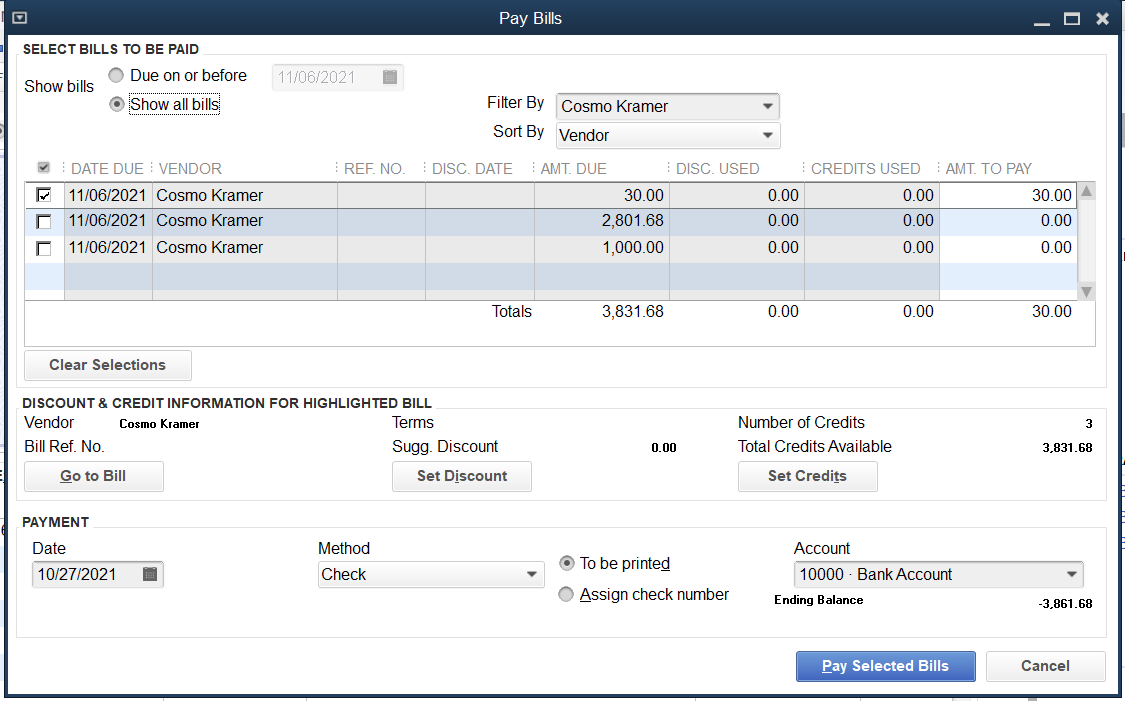
On this screen, select each bill, click Set Credits, and then find the corresponding General Journal entry for the Bill:
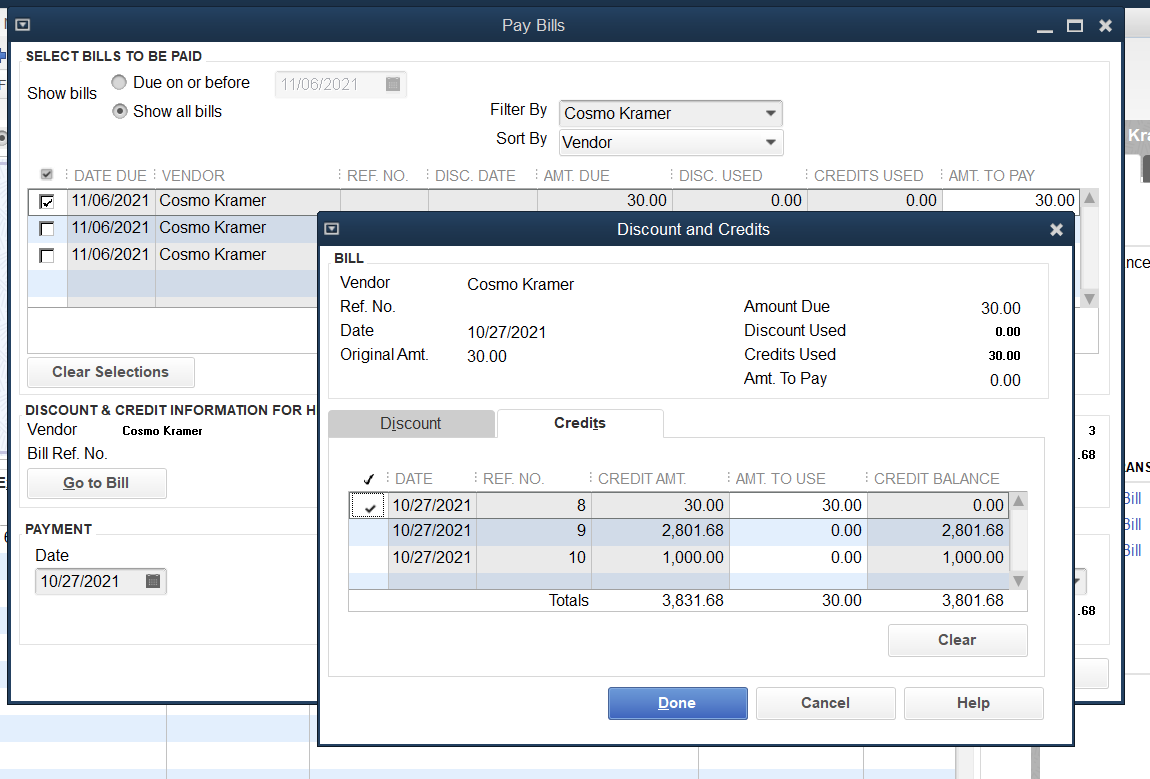
Click Done. You will need to repeat this for each paid bill (QuickBooks Desktop does not allow bulk actions).
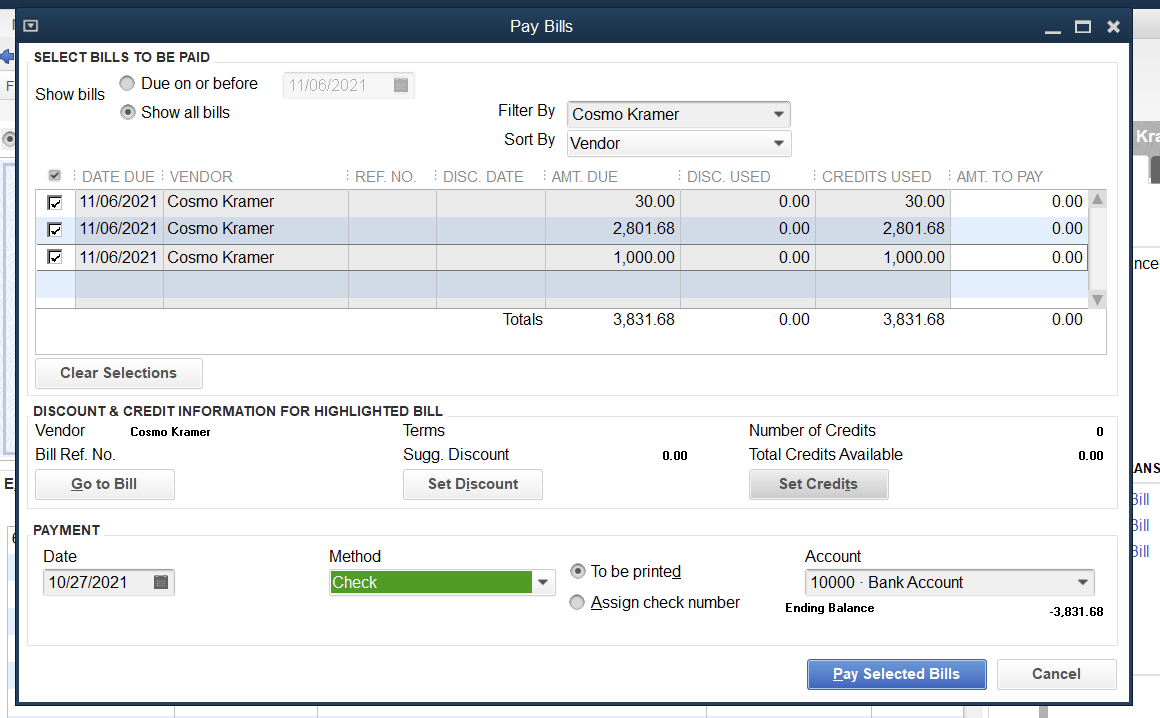
Finally, click the Pay Selected Bills button, marking these as Checks. You can add them as To be printed or Assign Check Number - your preference.
You will receive this confirmation screen:
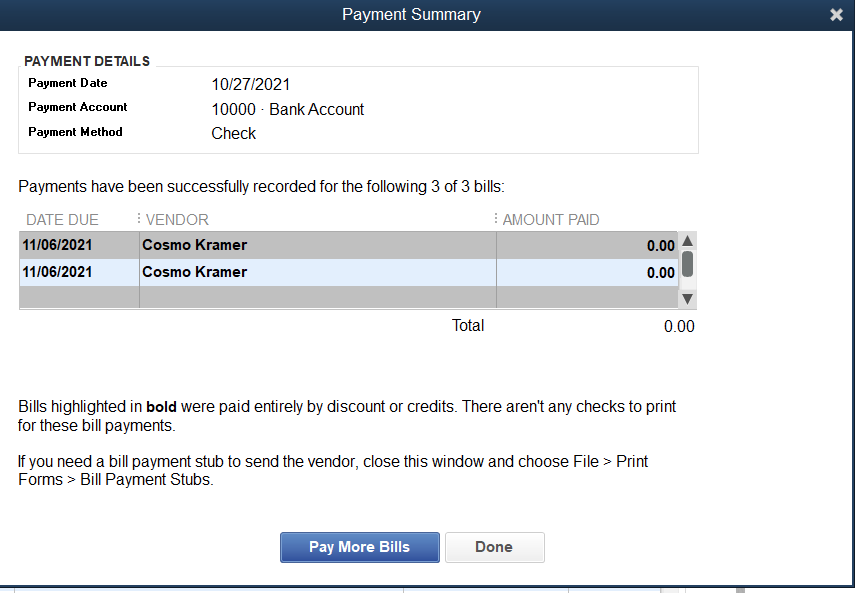
Click Done, and the bills against those employees will be marked as paid.
Bill Pay
Bill Pay for QuickBooks Desktop is available! For more information, please reference this article.