Import ERP vendors into Ramp
Ramp allows you to import your vendors and vendor information from your ERP, simultaneously linking them to existing Ramp vendors.
Key features
- Automated Vendor Import: Seamlessly import all vendor data from your ERP into Ramp without manual entry.
- Duplicate Prevention: Ramp avoids creating duplicate vendors by linking existing Ramp vendors with ERP vendors based on name similarity.
- Selective Import Options: Choose to import all vendors or only those with associated bills
How do I import and link my ERP vendors?
- During Bill Pay FTUX, Ramp will prompt you to see what vendors you'd like to import
- If you are already onboarded onto Bill Pay
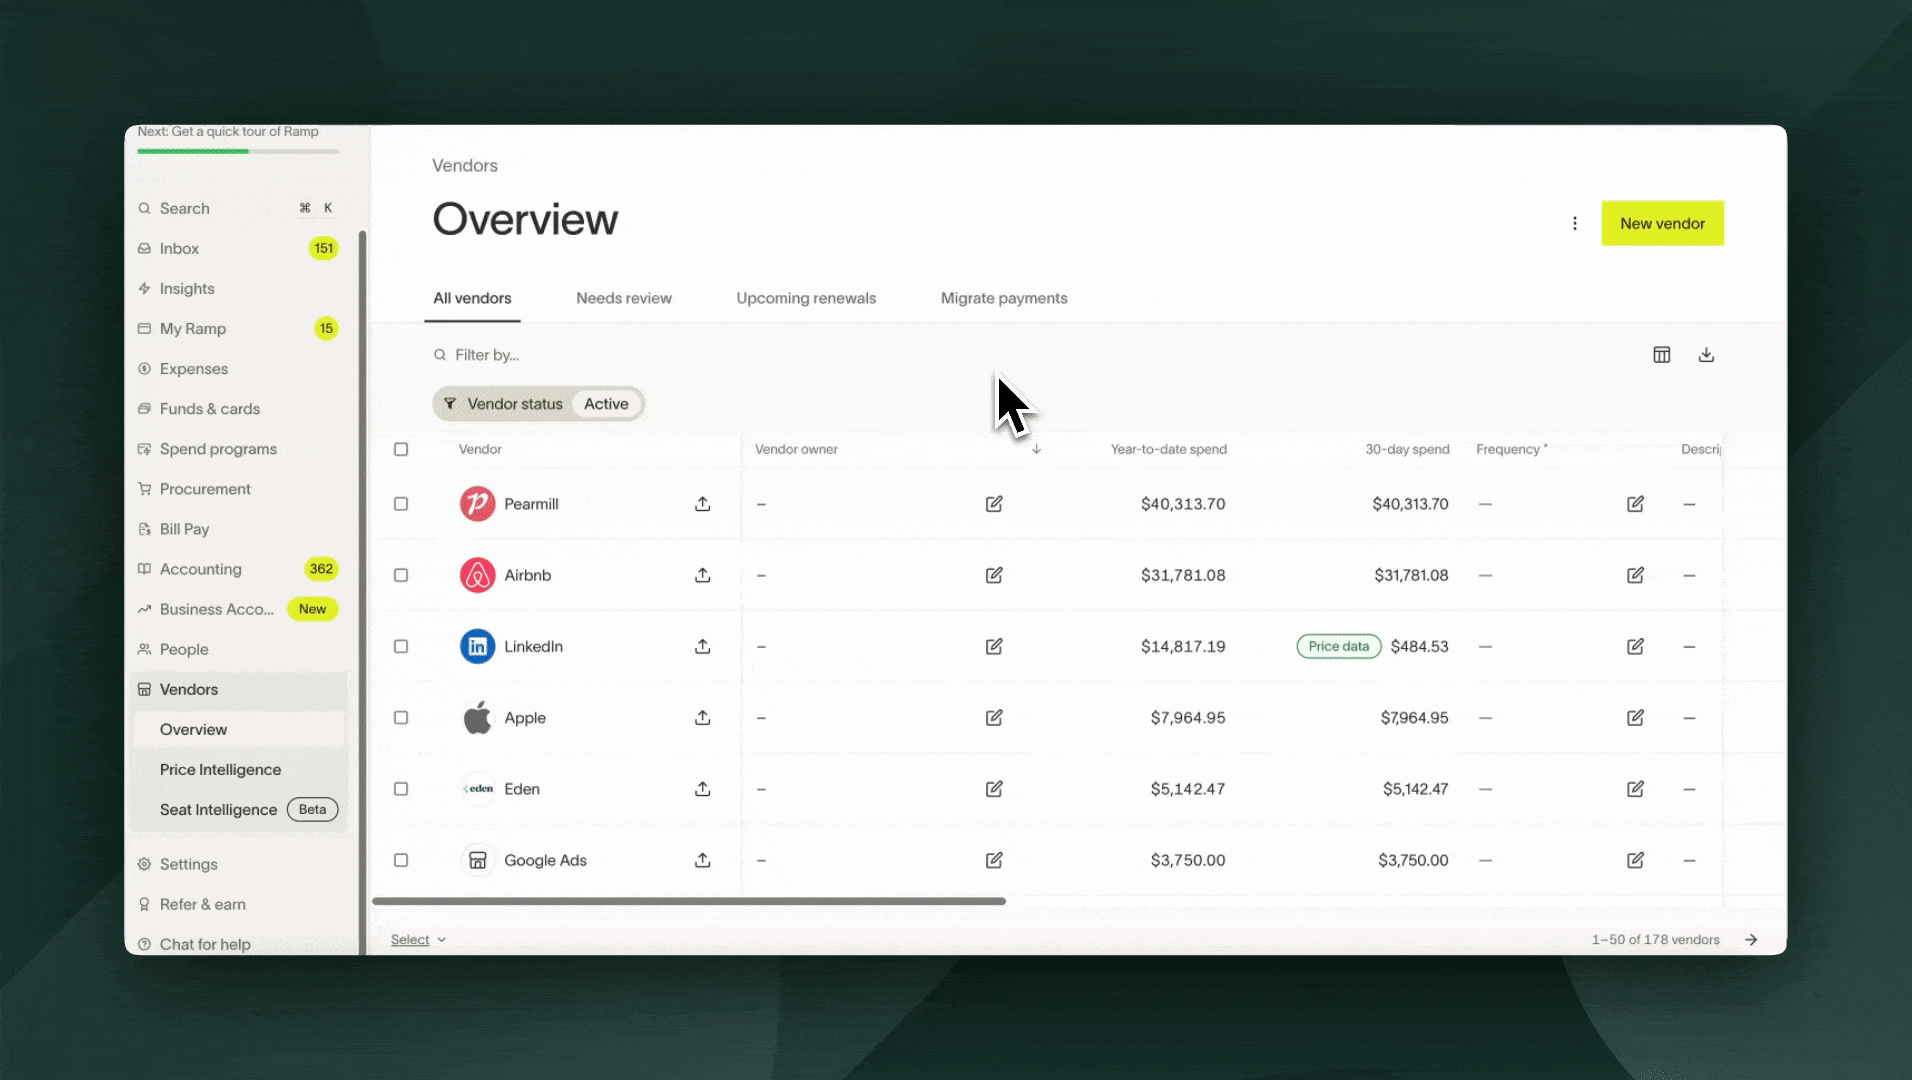
- Navigate to the Vendors page in Ramp.
- Select Settings → Import Vendors from [your accounting provider] → Vendor Import Settings
- Under the Vendor Importing section, choose one of the following options:
- Import all vendors: Imports all vendors from your ERP into Ramp.
- Import recent vendors: Imports only vendors that have had an associated bill within the last year.
- Do not import any vendors: This keeps the feature off, and no vendors will be imported.
How does Ramp handle duplicate vendors?
When importing vendors from your ERP, Ramp ensures that duplicate vendors are not created by following these rules:
- Linked Vendors: If an ERP vendor is already explicitly linked to a Ramp vendor, no new vendor will be created.
- Exact Name Match:
- If the ERP vendor's name exactly matches an existing Ramp vendor's name, the vendors will be linked together.
- If we detect two vendors in your ERP with the same name, we will, by default, only import the most recently used vendor. However, you can override this to bring in all vendors regardless of name matching.
Which vendor fields can be imported from my ERP?
| Ramp Field | QuickBooks Online | NetSuite | Sage Intacct | Xero |
|---|---|---|---|---|
| Vendor Name | Vendor display name (only during initial import) | Company name (only during initial import) | Name (only during initial import) | Contact Name (only during initial import) |
| Print on Check Name | Print on check name | Print on check as | Not available | Not available |
| Vendor Type (Individual or Business) | Not available in QBO | Person Type | Individual Person | Not available |
| Country and State | Pulled from Address (only during initial import) | Pulled from Address (only during initial import) | Pulled from Address (only during initial import) | Pulled from Address (only during initial import) |
| Vendor Owner | Set to user who imports | Set to user who imports | Set to user who imports | Set to user who imports |
| Vendor Contact Email | Name and contact (email) | Primary contact email | Primary person email | |
| Vendor Contact Name* | Name and contact | not synced | Primary contact name | Primary person name |
| Vendor Contact Phone Number* | Name and contact (phone number) | Phone number | Primary phone (Primary contact) | Phone number (Business Information) |
| Payment Terms | Terms | Terms | Terms | Terms |
| Mailing address (can remap to Tax Address) | Address | Default Address | Address | PO Box Address |
| Vendor GL accounting rule | not available via QBO API | Expense account | Account | Default expense account |
| W9 toggle - 1099 status | Track payments for 1099 (we cannot set it to false in QBO) | is 1099 eligible (syncs from Ramp to NetSuite when updated in Ramp) | 1099 status (only syncs from Sage to Ramp) | 1099 status (only syncs from Xero to Ramp) |
| TIN | TIN (syncs from Ramp to QBO) | TIN (syncs from Ramp to NetSuite when updated in Ramp) | TIN | TIN |
| ACH - Routing Number, Account Number | not available via QBO API | not available via NetSuite API | Bank file (only syncs from Sage to Ramp on initial import) | Bank file (only syncs from Xero to Ramp on initial import) |
| Accounting ID*** | n/a | entityid | vendorid | n/a |
*We will only import the vendor contact name and phone number if the vendor contact email is present
**Xero → Mailing Address in Ramp is mapped to the PO box address in Xero, and Tax address in Ramp is mapped to the Street Address
***Accounting ID → in Acumatica = vendor_id, Dynamics BC = number, Workday = supplier_reference, Dynamics fo = vendor_account_number
Frequently asked questions
What should I do if I encounter issues with vendor imports?
If you face issues such as missing payment details due to ERP restrictions, consider using the regular CSV import for the initial upload. For bulk deletions, filter byVendor creation source = ERP Importand disable the import feature before deleting.
Can I customize which vendors I import?
Yes, you can choose to import all vendors or only those associated with bills. For more information, see Bulk Vendor Upload.
Are inactive vendors imported?
They are excluded from being imported.
How does Ramp choose the pay-to name for check payments?
For QuickBooks Online and NetSuite vendors, Ramp can import a separate Print on Check Name from the ERP and use it as the Pay To name on check payment details. If the ERP does not provide a separate value, Ramp uses the vendor name for check payments. A print-on-check value alone does not create a check mailing address; the imported vendor still needs check mailing address details.