Vendor Approvals
Overview
Ramp’s vendor approvals enhance your ability to manage and oversee vendor information, ensuring security and accuracy across your transactions. This feature ensures that any new vendor added, or edits made to existing vendors, follows a structured approval to maintain integrity and compliance.
How to set up vendor approvals
Turn on approvals
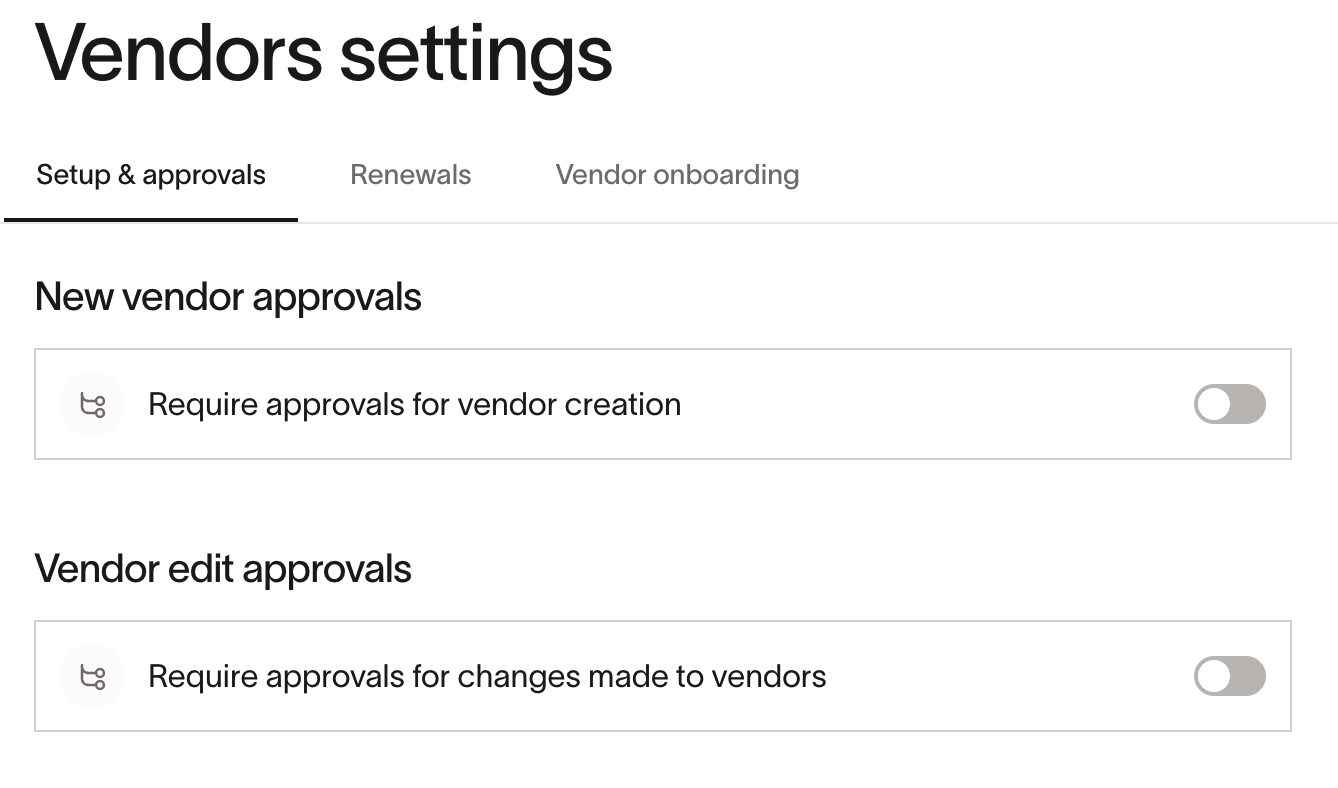
To require approvals for new vendor creation or vendor creation, configure a vendor approval policy that meets your company's needs. To get started:
- Navigate to Vendors > Vendor Settings > Setup & approvals
- Toggle on require approvals for vendor creation or changes made to vendors
- Alternatively, go to Policies > Expense Policy > Vendors
If at any point your business no longer requires approvals for new vendors or vendor edits, an admin at the business can click “Turn Off” from the vendor approvals page.
Configure your approval policy conditions
After, configure which conditions should trigger a vendor approval flow.
For new vendor creation, Ramp supports the following vendor approval conditions:
- Creation source (how the vendor was created)
- User role (who created the vendor)
For vendor edits, Ramp supports the following vendor approval conditions:
- Edited field (specific vendor fields that can be updated)
- Update source (how vendor details were updated)
- User role (who edited the vendor)
Trigger vendor onboarding for new vendors
For new vendor approvals, you have the ability to add Vendor onboarding as a step in the approval chain. Doing so allows you to save time in collecting information from vendors, with a tailored vendor onboarding experience you can launch directly from a new vendor creation approval workflow.
Configure vendor onboarding requirements
Add a step for Vendor onboarding, then configure the onboarding experience. You can add a welcome message, and select which forms you want your vendors to complete.

Create new custom forms
You can create new custom forms (e.g. security questionnaire, compliance form) to onboard vendors as a part of the approval flow. You can add your company logo to be added to the email sent to vendors, and manage everything else related to Vendor Onboarding by going to Vendors > Vendor Settings > Vendor onboarding - read more here.
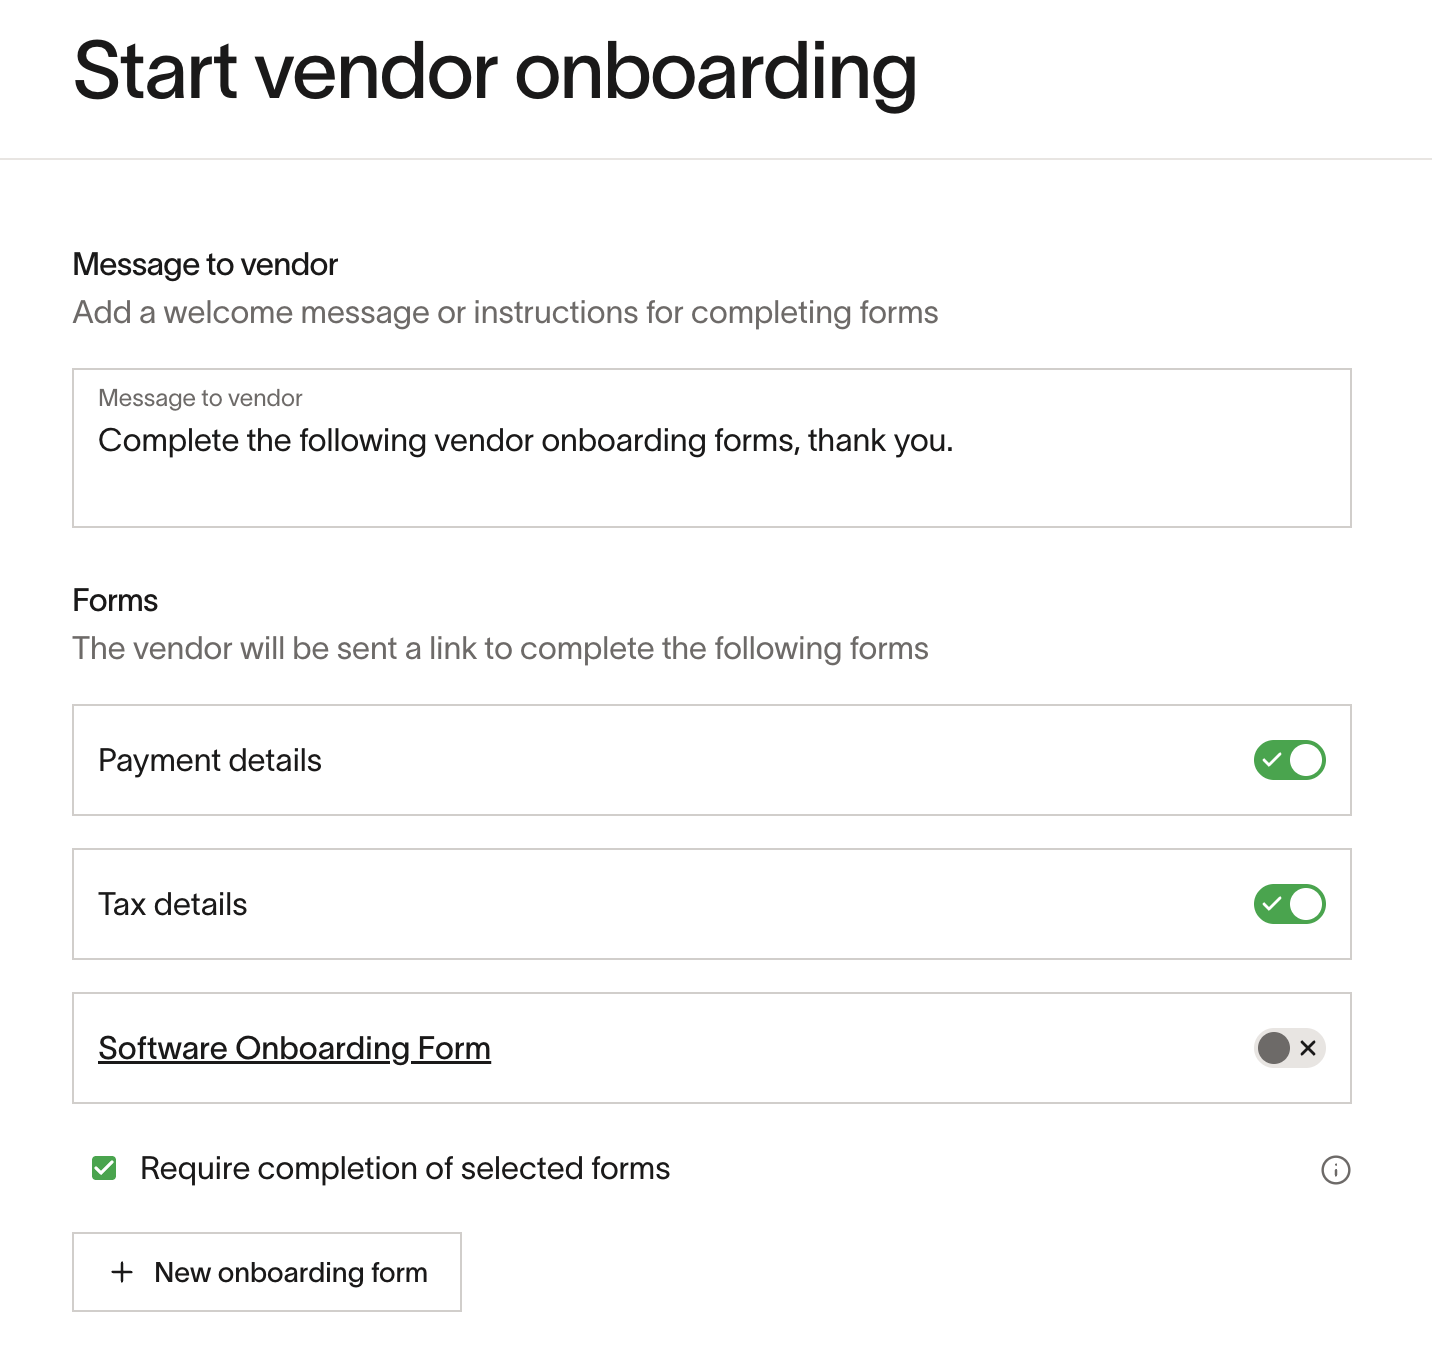
Optional: If you want to make the completion of these forms required for the new vendor to be approved, you can check off Require completion. Not doing so will allow vendor onboarding to happen in parallel, but not block creation.
Add approvers and notifications
Once you have set your desired conditions, select individuals to add to the vendor approval chain or be notified.

Once your approval policy is configured, click the green Save workflow button to save your changes.

Please note:
- Any updates or changes to approval policies will be applied to any future vendor creation/edits as Ramp cannot retroactively apply policy updates.
- If a vendor updates their payment details and you accept these changes, doing so will not go through vendor controls.
- If a vendor's details are manually added during creation (e.g. bank details), then your approval policy triggers a request to the vendor for these details, the details the vendor adds will override the ones manually entered during creation.
Editing a vendor
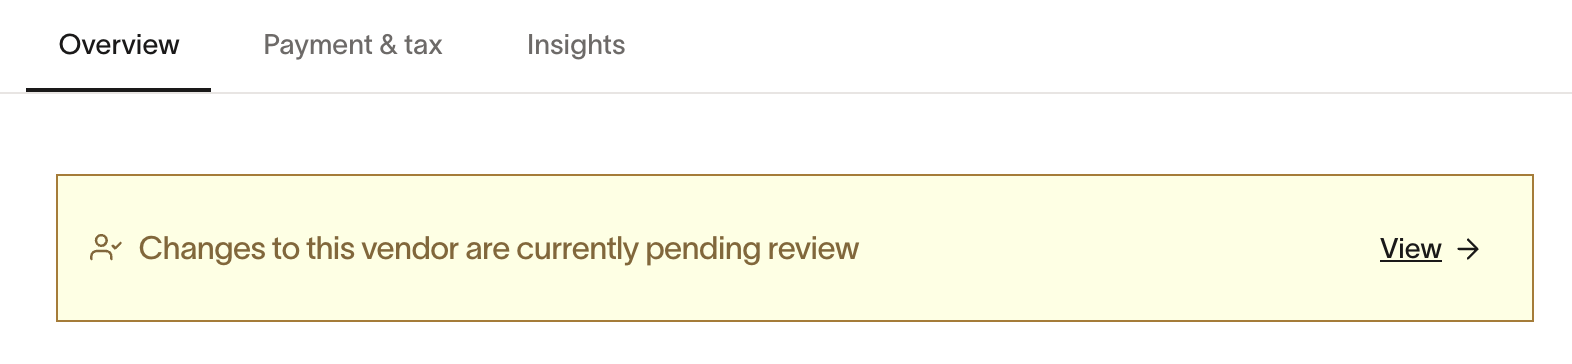
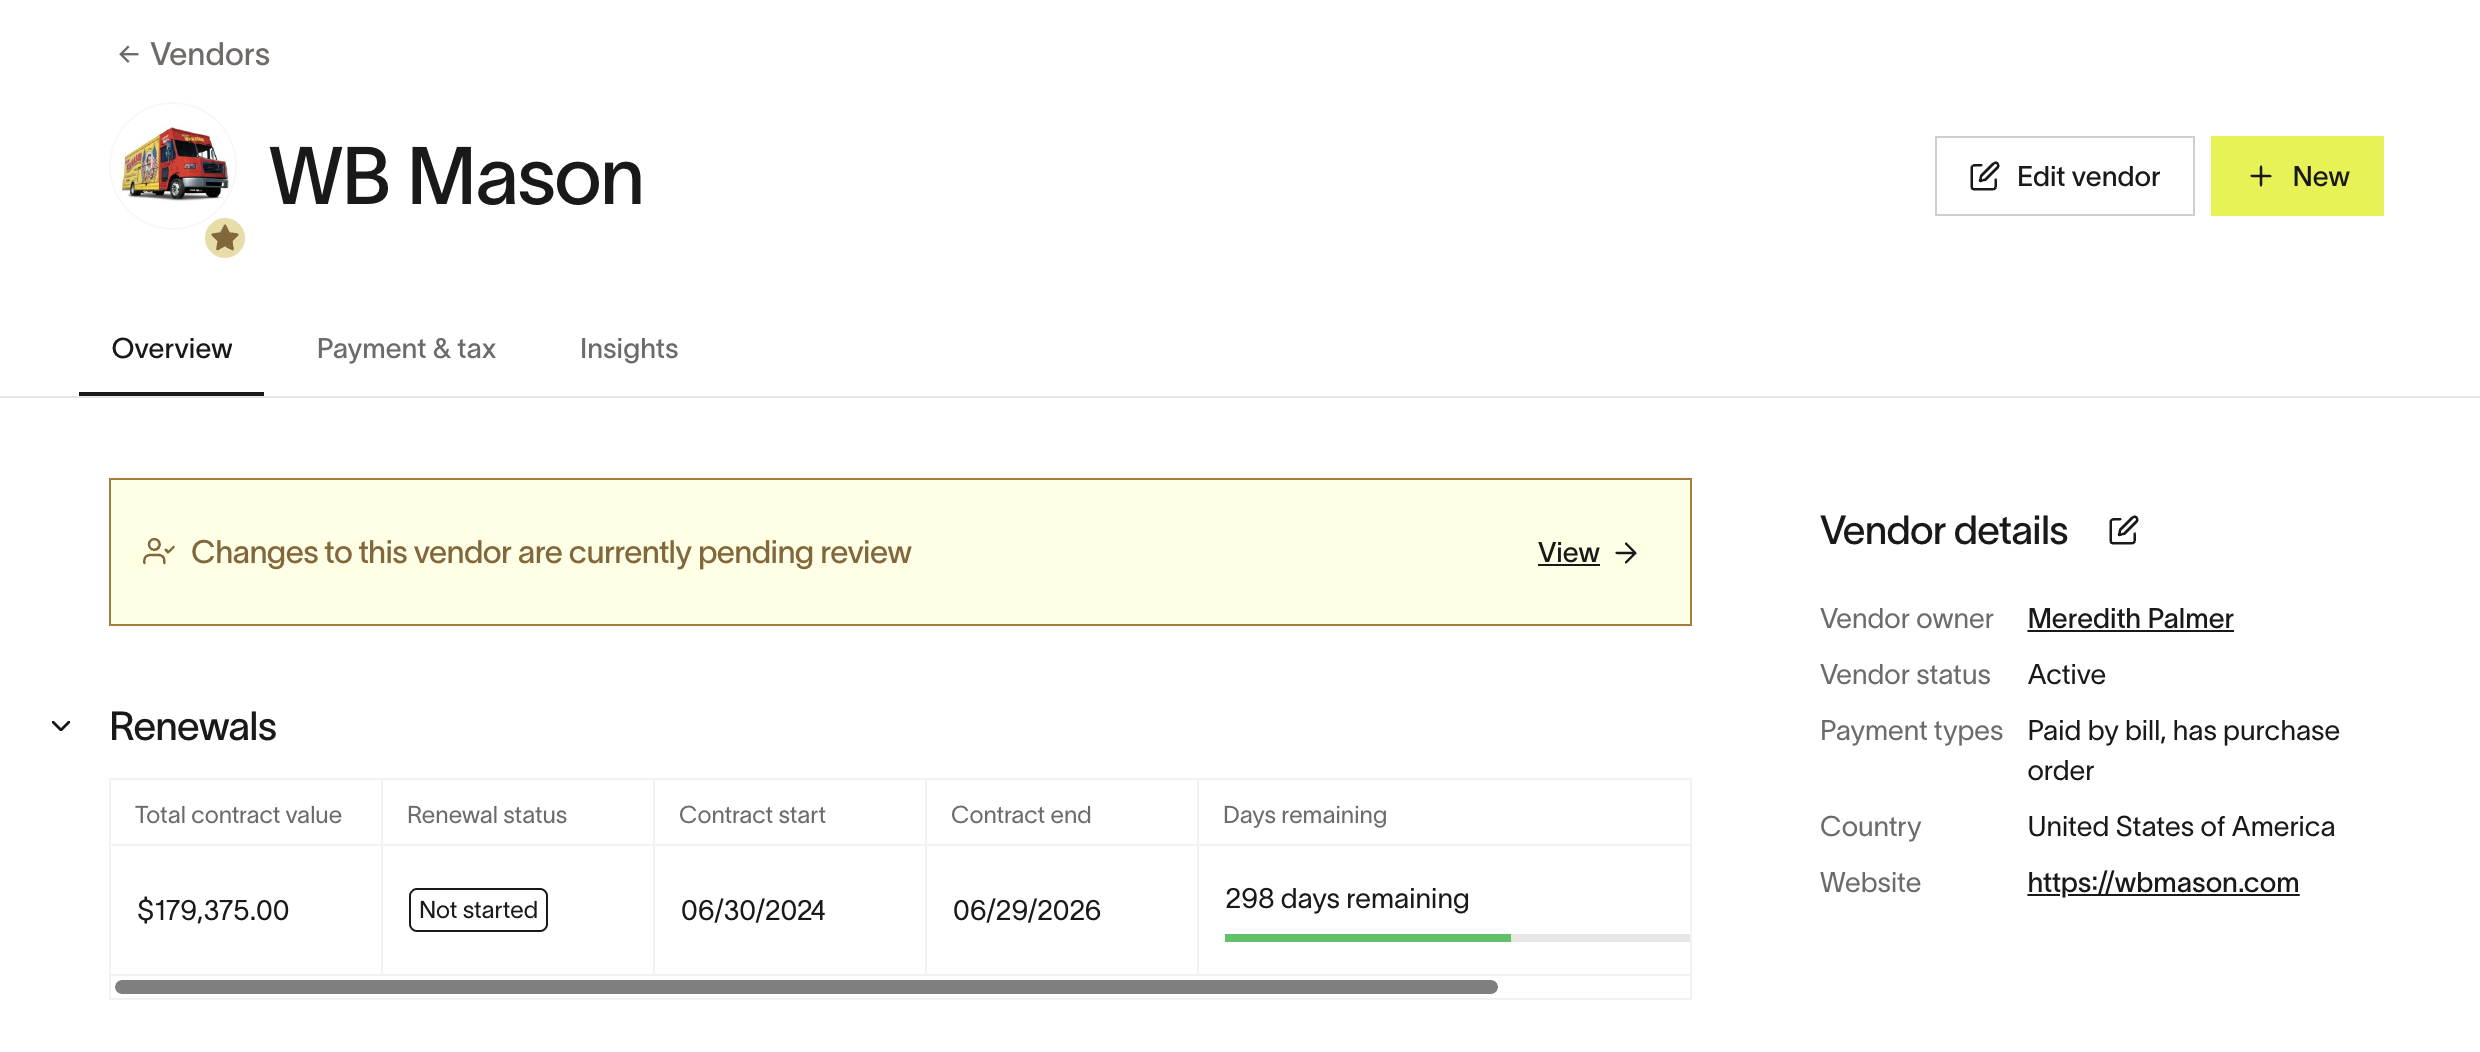
Based on your organization's vendor edits approval policy, if an individual makes certain edits to a vendor, they will be told that review is required. Once the editor is done, they will see a banner at the top of the vendor profile indicating that the vendor is pending review.
Only once the vendor update proposal is approved by all reviewers will the vendor profile be formally updated with the new details. Until then, the vendor update is tentative and will not be reflected on the vendor profile.
Please note that while a vendor is undergoing review, additional edits and updates cannot not be made by anyone other than the original requestor.
Creating a new vendor
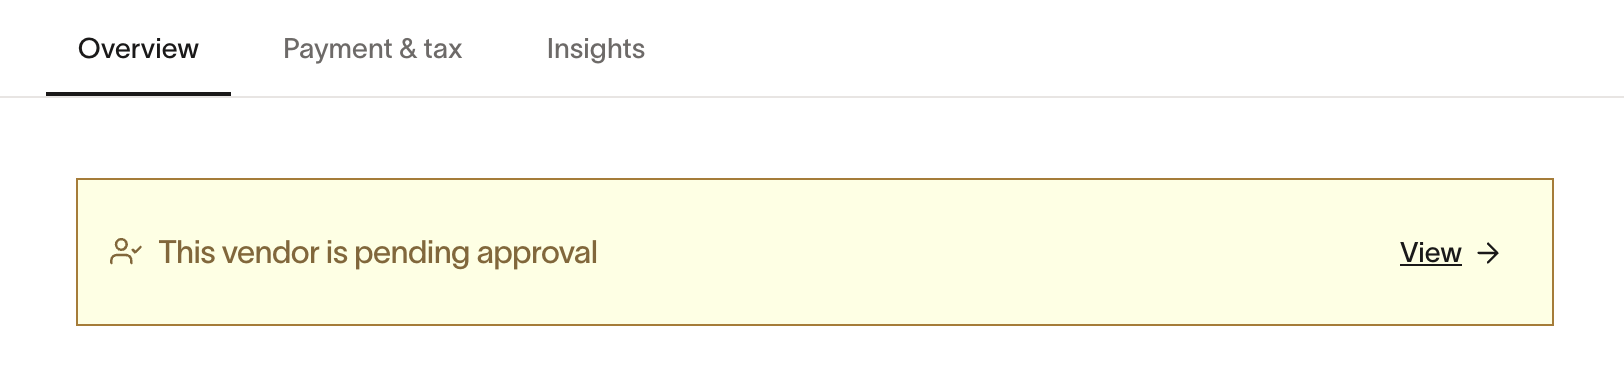
Based on your organization's new vendor approval policy, if an individual creates a new vendor, they will be told that the vendor is pending approval. Once the creator is done, they will see a banner at the top of the vendor profile indicating that the vendor is pending approval.
Provisional vendor
When a new vendor is created and pending approval, it is considered a provisional vendor. This vendor isn't visible on the vendor's table and can only be accessed by the requestor, approvers, or any users with access to edit vendors.
Bill creation for provisional vendors
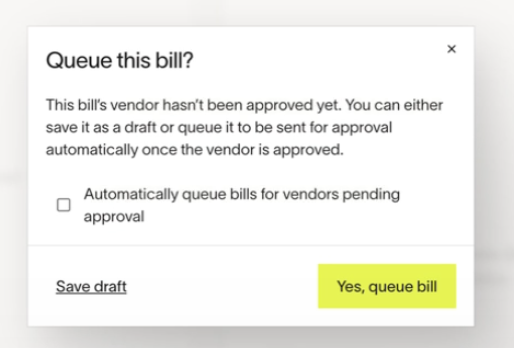
Users can create draft bills with provisional vendors, but real bills cannot be linked. Steps:
- Create a Provisional Vendor via a draft bill, and:
- Save as draft OR
- Submit the bill
- If the bill is submitted + linked to a Provisional Vendor, it gets added to a queue .
- If a user edits a queued bill, we'll ask them again if they want to save as draft or re-queue.
- Users can edit the provisional vendor via the bill by adding payment details
- If a Provisional Vendor is rejected, drafts are deleted.
- If approved, queued bills are auto-created from drafts
Review and approve vendor edits/new vendors
Vendor edit approvals appear in the weekly Ramp digest as a task, and any vendor edits approved/rejected appear in the digest too.
They may review and approve directly from the email or from the Ramp platform. Approvers can review all pending vendor updates that require their approval from three areas within the Ramp.
- From Inbox > Vendors tab
- From Vendors > Needs review tab
- From the yellow banner at the top of the vendor profile
 |  |  |
|---|---|---|
| From Inbox > Vendorstab | From Vendors > Needs review tab | From the yellow banner on the vendor profile |
They can also review pending requests from the “Requires your approval” section on the Ramp homepage.
Once all approvals are met, the vendor profile will be created or modified with the new approved details.
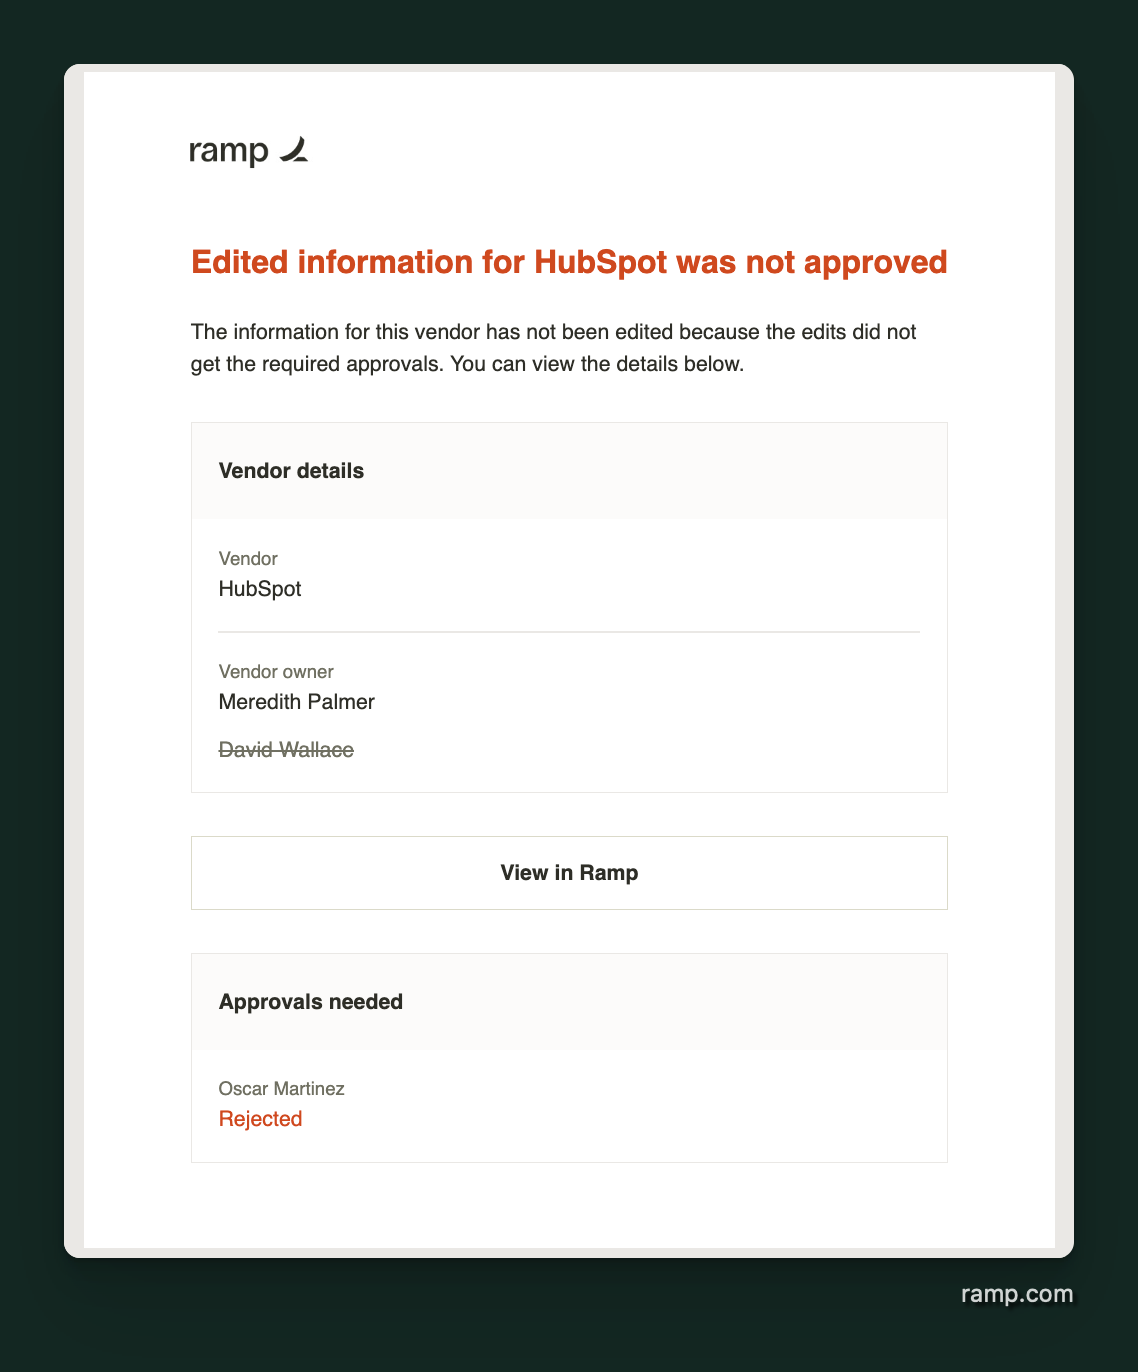
Reject vendor creation or edits
If approvers reject a new vendor or vendor update, the requestor will be notified via email. Rejected vendor updates will not update the vendor profile and the profile will remain the same.